Enjoying the Small Things

Enjoying the Small Things

  • ABOUT
    • KELLE HAMPTON + ETST BLOG
    • Our Down Syndrome Journey
    • Down Syndrome: Our Family Today
    • PRESS
  • the book
  • The Blog
    • Make Stuff
    • Family
    • Favorites
    • Parenting
    • Parties
    • Style
    • Travel
  • Once Upon A Summer PDF
  • Printables
  • CONTACT

8 Tips to Taking Better Instagram Photos

May 5, 2017 By Kelle

It’s been a long time since I’ve done a post on taking pictures, and I started working on one–collecting tips from everything from editing to printing–but it got very lengthy. So I figured I’d break these up and start with a handful of tips that work for me when I’m in a rut with photography inspiration, and I’ll share more tips in future posts as we go. While I do post both iPhone and regular camera photos to Instagram, all these tips work with just a camera phone.

If you’ve been a reader here for a while, you know photography is one of my love languages. It’s a little bit like yoga in that the more you practice it, the more natural it is for you to achieve the desired outcome. Sometimes taking photos for me relies on more thought–about composition, colors, lines, where the light’s coming from–and sometimes, when I’m really lucky, the magic of a “heart” moment lands in my lap and without even thinking about how I’m going to capture it, I just snap, and everything I was feeling at the moment lands in the frame. Those are usually my favorite photos. Like the one below. I remember everything about this moment.

 photo iphone best_zpssv9xg9no.jpg

Ultimately, that’s the stamp of a good photo to me–that it makes me feel something–peace, comfort, happiness, sadness, someone else’s story, the wonder of childhood, the joy of motherhood, the desire to slow down, get out and explore, twirl in a field of daisies, grab my kids and kiss their cheeks, anything. I like when photographs awaken some little tiny part of me. At this point in motherhood and with the subject of a lot of my photos, the feeling I aim to capture is often simply delight.

But I also like to challenge myself to keep my photos interesting and have fun with changing things up. Photography can be so much fun, especially when you start playing with angles and light. It’s always a thrill when you look in the frame and see this little story right there in one shot. Click. You captured it. A moment between sisters. The twirl of a dress. A head tipped back in laughter. A hug. A sleeping baby. A tear rolling down a cheek. A page from the book of your life.

Like practicing yoga, again, there are some days when taking photos feels a little clunky for me or like I’ve forgotten everything I know about taking good pictures. On days like those, I’ll come back to these tips to reignite some creativity and get me out of a boring rut.

1. Find the light.
Photo means, simply, light, and you cannot create a picture without it. Natural light creates the most beautiful photos, but there are so many things you can do with light besides just stand in it. The best way to get a good, clear picture is go to the light. If you’re taking photos in your house, take them near windows. Study the light patterns in your home. I know that in the morning, Dash’s room is simply magic with the light that floods in; that mid-afternoon, the girl’s room has soft beautiful shadows, and that early evening our dining room practically turns into a studio with the golden light of the setting sun.

A foolproof tip for a beautiful photo: Use a side light source. Stand so that the light is coming in from either side of you, and position your subject to face the light. Every one of the photos below was taken this way, and the result is magic.

 photo iphone side light_zpsodoryacr.jpg

2. Manipulate light.
You may already know this, but it’s worth mentioning because I’ve had far too many people who’ve seen me “move the sun” in camera mode on my phone stop me with, “Wait–what? You can change the light?!?” When you’re taking a picture with your iPhone, you can tap the screen in any place to focus on that area, and a little sun will pop up that lets you add more light or take it away. This is especially handy in backlit situations as, depending on how you take the photo, you can create a dark silhouette effect against the light or a light-flooded image.

 photo print 17_zpscsiyxokl.jpg

3. Change your perspective.
If all your pictures look the same (typically straight on), the easiest way to get creative and play around with telling a different story is to change the angle at which you normally take photos. Try an overhead shot, get down low (yes, lay down on the ground!) or move really close to zoom in on one element of the photo. Within one minute, I took four different pictures of Dash playing with blocks in front of our front door, and each one tells a different story.

Straight on:

 photo print 4_zpsx9ftmwia.jpg

From overhead:

 photo print 5_zps4izifew9.jpg

Moving outside and taking it through the door:

 photo print 7_zpsudkkrhjr.jpg

And zooming in on one element, his feet (if the iPhone doesn’t focus right away on what you’re trying to zoom in on, tap what you want in focus and give the camera a second to adjust):

 photo print 8_zpsdiyfgg9k.jpg

I love overhead shots, like the ones below. They allow so many details to shine that would otherwise be overlooked–the patterns in the fabric, the bath toys against the white bubbles, even random toys on the floor that make their way into the shot.

 photo iphone overhead_zpsut8k21as.jpg

4. Play with shadows.
I’m always on the lookout for good shadows from palm tree fronds to perfect profiles on the wall. When I see a good shadow, I’m all “Wait! Stop! Don’t move! Let me get my camera!” Even my kids are on the lookout for them. In the photo of Lainey below, she’s the one who spotted that tree shadow and said, “I bet you want to take a picture there.” I love the two of me and Brett below because our actual bodies aren’t even in the photo, but the sun and shadows were so perfect in D.C. that day, it created a great way to capture a moment of the two of us. I normally don’t like direct harsh sunlight for photos, but creates great shadows that can be fun to layer into a photo–like the one of Lainey and Nella walking with their ice cream cones.

 photo iphone shadows_zpsjs5smiiz.jpg

5. Get away from always centering your subject, and use negative space.
While it’s a totally breakable rule, if you don’t know the rule of thirds in photography, it basically says that photos are most interesting if subjects are placed in one of the intersecting points of where an image would be broken up into thirds. If you’re not used to thinking about composition when taking photos, you’re probably inclined to center your subject. Try putting them in a corner though and expanding your shot to include negative space. The four photos below could have all been taken by centering the subject but tell much more interesting stories by scooting them over and leaving space.


 photo iphone thirds_zpsb3oz6r6b.jpg

6. Make your photos POP with contrast.
Think juxtaposition–a tiny nook of light in a dark room or a pop of color in an otherwise dull landscape. Just as in nature–like a red cardinal flying against a snowy backdrop–photos that include great contrast make viewers stop and take notice. A pair of bright red shoes on a gray sidewalk, a rainbow kite flying against a muted sky, a yellow dandelion emerging in a field of green–I don’t know if it’s from taking photos or just from loving these contrasts in general, but I notice them more and more.

 photo iphone contrast_zpsubwycurd.jpg

7. Crop it like it’s hot.
Don’t give the whole story away…just give a teeny tiny part. Cropping is such a fun way to play with telling a story through a photo and can completely change an image from ordinary to you-have-my-attention-tell-me-more. In the photo on the left, I had taken several shots of the girls backstage at Lainey’s recital. The images weren’t that special or evocative except one–the image that included just a line of tutus and legs. Cropping is a good place to break the rules too–cut off heads (right in the middle, if you wish), tops of bodies, half an image–whatever you like. The photos become little clues to the rest of the story out of frame.

 photo iphone crop_zpsvrebcpei.jpg

8. Add effects.
Here’s where it gets fun. Post processing. And it’s amazing how much you can do with apps on your phone these days. My current favorite app that I use for almost all of my Instagram photos now is A Color Story. It’s super user friendly, and there are so many fun packages (most run $1.99) you can add for effects like sun flare and light leaks. I don’t use a lot of filters, but I brighten, add contrast, adjust the temperature and sometimes change the angle of my photos a bit if the lines aren’t straight. My favorite effect lately is sun flare. I’m going to run through a photo and show you how I changed it within a matter of seconds. I took this photo of Lainey overhead in the pool, and though I loved the composition and the color pop, I wanted to make it a little more interesting by adding sun ripples on the water. First, I opened the photo in the Color Story app and tapped “Effects” on the bottom which opened a menu of different effects.

 photo print 15_zpssyc7gyvf.jpg

From there, I tapped “Flare & Bokeh” which opened a new menu of 17 different sun flares.

 photo print 14_zpsgbb7stve.jpg

I chose “Flare 2”, moved it to where I wanted it, hit the check mark to put it in place and then went through that process one more time, layering another round of “Flare 2” and positioning it in a different place so that the sun spots were well dispersed. The dappled light in the final image makes me happy.

 photo print 13_zpsvzorhiz5.jpg

It takes some practicing to the get the most natural effect, but the sun flares are super fun to play with in shots with window light or outdoor sun, and they add some nice oomph to images that feel a little flat.

The most important part of taking photos is to have fun with it. Photography has made me so much more aware of little things I used to overlook–colors and contrasts, architecture with character, magical slivers of light, shadows and foliage, and all these aspects of childhood I’m so grateful to have preserved from skinned knees and scuffed tennis shoes to all the wisps of hair that excape from a braid at the end of the day.

Weekend’s coming…get your cameras.

 photo iphone bests_zpsqfotydex.jpg

Filed Under: Uncategorized 20 Comments

Do You Remember Your Childhood Family Couch? (and a $1000 Couch Credit Giveaway)

May 4, 2017 By Kelle

This post is sponsored by Interior Define.

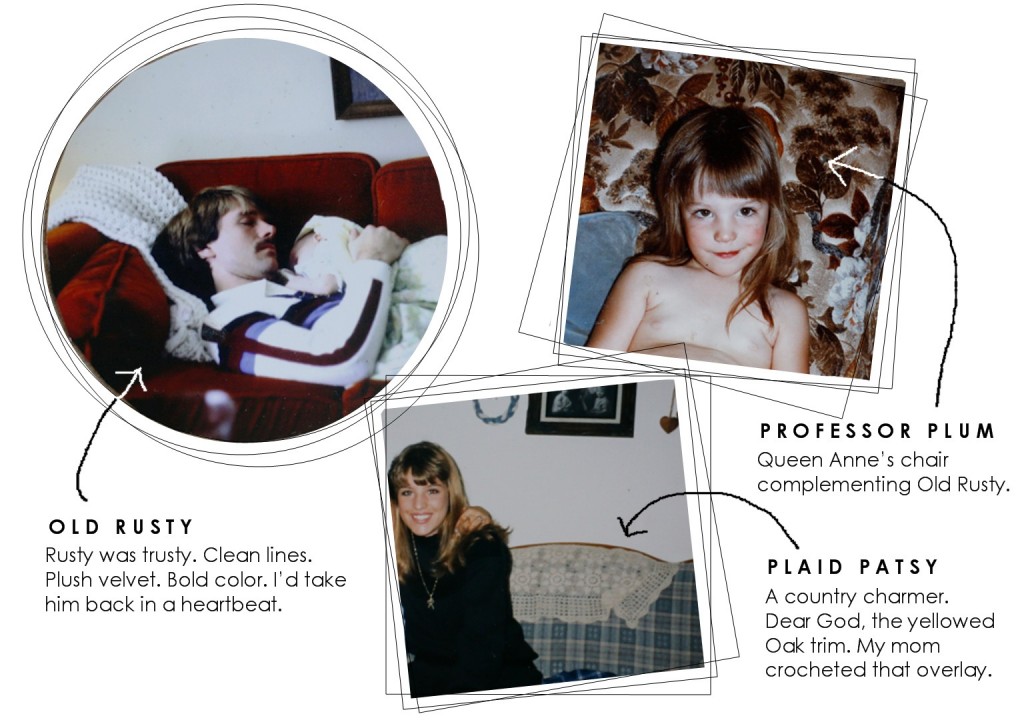
I swear I remember my nursery. I doubt I really remember it, but I’ve been told enough stories about it–that it had yellow carpet, that it was a tiny wallpapered room, that my dad would sometimes sleep on the floor while I napped–that in my mind, I can visualize exactly what it looked like. As we moved from city to city and house to house, my memories of our houses and rooms become a little clearer, but it’s the things that filled it that I remember most–the pictures on the wall, the treasures my grandparents passed on from their mission trips, the afghans and quilts that warmed up all the corners, and the furniture. I never forget a couch. The happiest of my childhood memories were accompanied by Old Rusty, the brick-colored velvet couch where I slept on my dad’s chest as a newborn and years later curled up on Saturday mornings to watch Shirt Tales and Get Along Gang. Old Rusty’s chair partner was Professor Plum, a stately Queen Anne’s chair covered in a bold floral pattern with browns and golds and a hint of blue. Professor Plum made it all the way through my college years, taking up a reading corner in my room at my dad’s house. Then there was Plaid Patsy, the blue plaid country couch in my mom’s living room, surrounded by wall art of wooden hearts, old photographs and twin taper candles–connected at the wicks–dangling from carved oak shelves with pegs.

 photo interior define 3_zps3z1alzui.jpg

Thank God we’ve moved on in furniture design. Although I’d take Old Rusty back. He was timeless.

When I moved to Florida and started real life on my own, I bought a condo. My first priority in furnishing it was finding a couch with character–not so much blue plaid country cabin character but more “Look at me! I’m on my own! I’m a working woman!” I wanted a red couch. I envisioned cool city loft kind of red couch, but there weren’t that many choices, so I ended up with brownish-reddish-biggish grandma’s house kind of red couch. But still. It was new, and it was red.

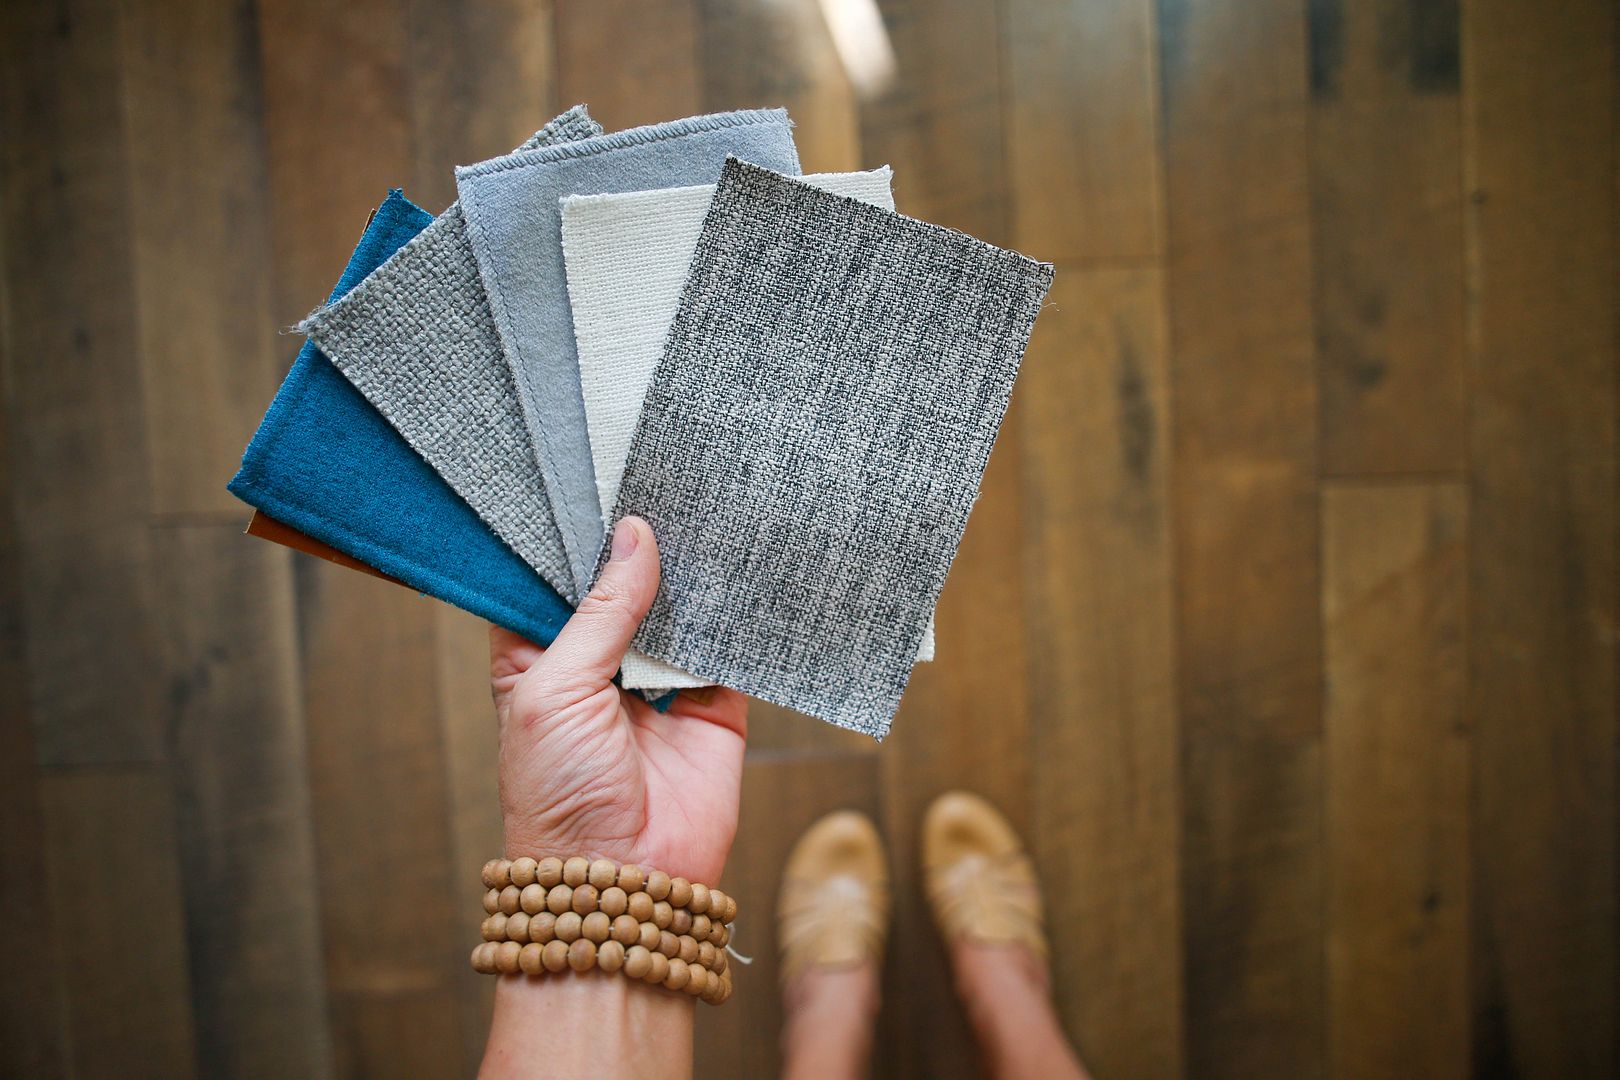
Fast forward 13 years later. THERE ARE SO MANY CHOICES! I just discovered Interior Define which is changing the way people shop for furniture, beginning with sofas and sectionals. They offer customized furniture at an exceptional price point (generally 30-40% less than comparable retailers) by maintaining an online presence that cuts out all the retail markups, and following a made-to-order service model. What does that mean for you? You get to choose everything–size, configuration, material, cushion fill and legs on almost every design they offer. Most pieces are available in 40-60 fabric options  with complimentary swatches available.

 photo print 79_zpsjoqalrwr.jpg

LOOK AT THIS RAINBOW!

 photo interior define 2_zpsshwnjbah.jpg

I’ve curated a list of my favorite Interior Define products (feeling yellows, blues and grays, I guess) here.

 photo interior define_zpskmfogzbs.jpg

If you’re in the market for furniture, Interior Define is offering $100 off any order over $1000 with code ETST100 upon checkout. (Discount ends 8/31/17)

And…they’re giving away a $1000 online credit to Interior Define for one lucky reader to shop for the couch or chair of their choice (I mean, that blue velvet one!).

How to enter:
1) Visit Interior Define here.
2) Join their e-mail list.
3) Pick your favorite Interior Define product.
4) Comment back on this post with the link to the piece you’d buy with the credit if you won!

Giveaway is open to continental US readers only, entrants must register their e-mail address, and credit must be used toward a chair or couch purchase. Giveaway will be closed on 5/11 (EXTENDED to 5/13) and winner will be randomly selected from the comment section, e-mailed by I Heart Organizing, and announced on I Heart Organizing’s site. Credit must be used in a single purchase and by 8/31/17. Any returns will be refunded store credit minus any applicable restocking fee. Good luck!

Also, do you name your furniture? I feel like couches are practically members of the family. They need names. “Kids, let’s go sit on Larry and read a book.”

Filed Under: Uncategorized 249 Comments

The Basic Rules of Tampons

May 2, 2017 By Kelle

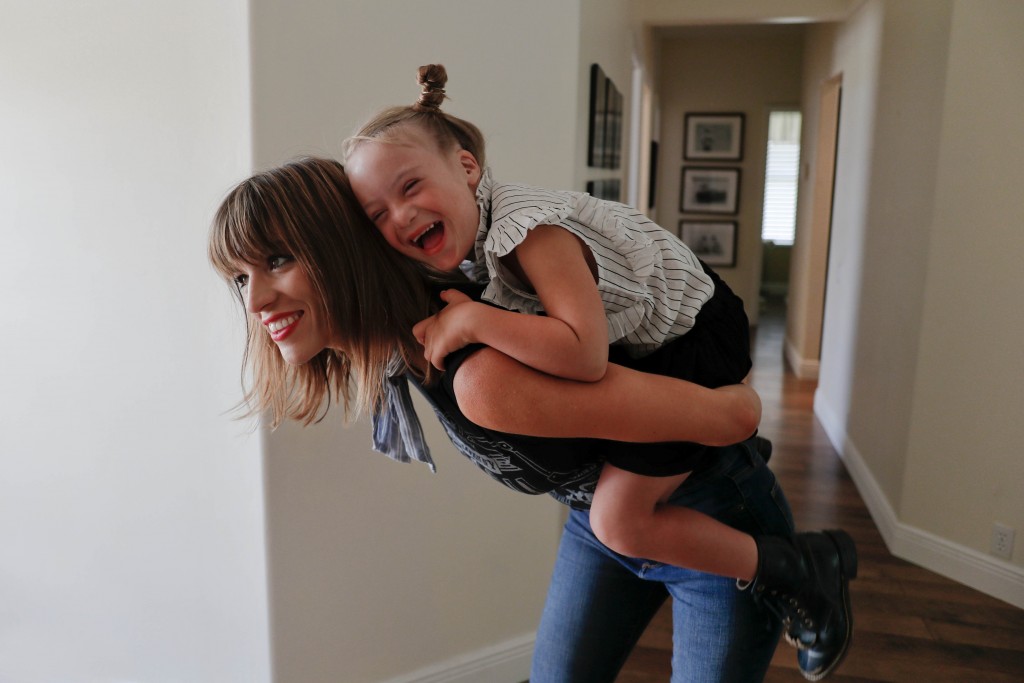
That’s right, we’re talking tampons which–if you’re a man–might be your cue to scoot on out, although you’re welcome to read on if you wish.  Sidenote: Featured image has nothing to do with tampons, but I think posts should have pictures and I didn’t have anything else that subtly suggested tampon usage and wasn’t about to attempt an artsy picture with a blurred out Tampax box. So there. An unrelated photo of me and Nella from this weekend.

Let me start by saying that I didn’t talk about periods or tampons or sex or any of this stuff with my mom growing up because it was awkward as hell and we abode by the trusty philosophy of hide-your-head-in-the-sand-and-pretend-girls-don’t-have-periods. Or even vaginas. Everything I learned about periods and a woman’s body was from the instruction paper that was folded in the Tampax box which left me with two solid facts: a) there’s a very good chance you’re going to die from TSS, and b) there are a variety of ways to insert a tampon–who knew?! Since the Tampax instruction guide left me hanging, I ended up having to do some follow-up research of my own. On one of our homeschool library days, I went all Sherlock Holmes, making sure no one saw me sneak off to the reference section where, once confirmed I was alone, I looked up every Song of Solomonish thing I could think of–vagina, period, intercourse. I learned about life hiding in the reference section of the Flint Public Library, and I left…traumatized. And yet intrigued. My birds-and-bees library introduction course would later advance when we took in the daughter of an inmate from our church’s prison ministry for a while, and she told me everything. Everything.

Because of this whole experience, I’ve been hell bent on taking away the awkwardness of these subjects in our home, at least by talking about them openly and honestly–early–with no shame. The balance of too little and too much is tricky though because I also don’t want to go the other way–“Mom, please stop talking about vaginas”. At least if there’s awkwardness, it won’t be because I avoided the subject for too long. We’re still only in the introductory phase. In other words, all three of my kids know what a tampon is for if you consider, in Dash’s case, that “pocket rocket” is a proper use.

Speaking of tampons, I’ve had to reestablish some tampon rules for myself. My rules aren’t really for tampon beginners.  Let’s face it, the Tampax instruction guide and the library can take care of that. It’s for when you’ve been doing this period stuff for many years. When you’re getting lazy and need to be reminded of the basics. If you do calligraphy, feel free to make some framed art for your bathroom with these.

1. Buy Them.
Seems pretty self-explanatory, right? Except after you’ve had three kids and can’t remember where you left your grocery list and you’re a little behind on your laundry, sometimes you forget to buy them. Like ever. “I don’t understand why you never have tampons,” Brett said after he caught me digging in my closet at 5 am one morning–again–in search of an old purse that might have one. I swear I made it three months once simply from digging through old purses every time I needed one, ransacking my glove compartment or bumming one off friends, like a cigarette. A frequent text to Heidi: “When you pick up Ivy, can you bring me some tamps?” I mean, they’re what–$7 a box? I don’t understand why this is so difficult for me, but just to check this one off my list, I’m going to go order a wholesale box from Amazon right this second. BRB.

2. Bring Them.
A lot of good buying tampons does if you don’t actually bring them where you might need. Like, say, to the gym when you have a one-on-one personal training session with a 20-something male which, correct me if you have a better story, but might be the worst time ever to be stuck without a tampon when you desperately need one. Because, God forbid, something happens in the middle of the training session, you might have to excuse yourself to the bathroom where you will be stuck for a moment thinking, “There is no way out of this one alive.” Not that this happened to me yesterday or anything, but–you know–a friend I know. And then you might have to run to find the female Pilates instructor, yelling “I’ll be right back!” to the trainer while you do. And she might give you a tampon and her only change of clothes which happens to be a pleated tennis skort. And you might have to return to your session, explaining that something happened and, “Oh hey, yeah, I’m wearing a SKORT now, but please–do carry on.” The best part? Trainer looks at skort and says, “I think you’re wearing it backwards.” I don’t speak fluent lululemon, but apparently the logo goes in the back.

“I would have left and never come back,” my sister told me.

Moral of the story? Bring the tampons. Stuff them in your pockets, your purse, your glove compartment, your beach bag, your diaper bag, and especially your gym bag.  At least for the simple fact that you will have a hidden stash when next month you realize you’re out of tampons. Again.

Also…there is nothing not funny about a skort. Ever. Skorts are always funny.

Filed Under: Uncategorized 53 Comments

  • « Previous Page
  • 1
  • …
  • 113
  • 114
  • 115
  • 116
  • 117
  • …
  • 657
  • Next Page »
  • Facebook
  • Instagram
  • Pinterest
  • RSS
  • Twitter

Popular Posts

Shop My Favorites

Keep In Touch

Bucket Lists

ARCHIVES

Archives


“One of the most emotionally stirring books I’ve ever read….a reminder that a mother’s love for her child is a powerful, eternal, unshakable force.”
Ree Drummond, The Pioneer Woman
  • Home
  • About this Blog
  • BLOG
  • BLOOM
  • Favorites
  • Parties
  • PRESS
  • CONTACT

Copyright © 2026 · Kelle Hampton & Enjoying the Small Things · All Rights Reserved