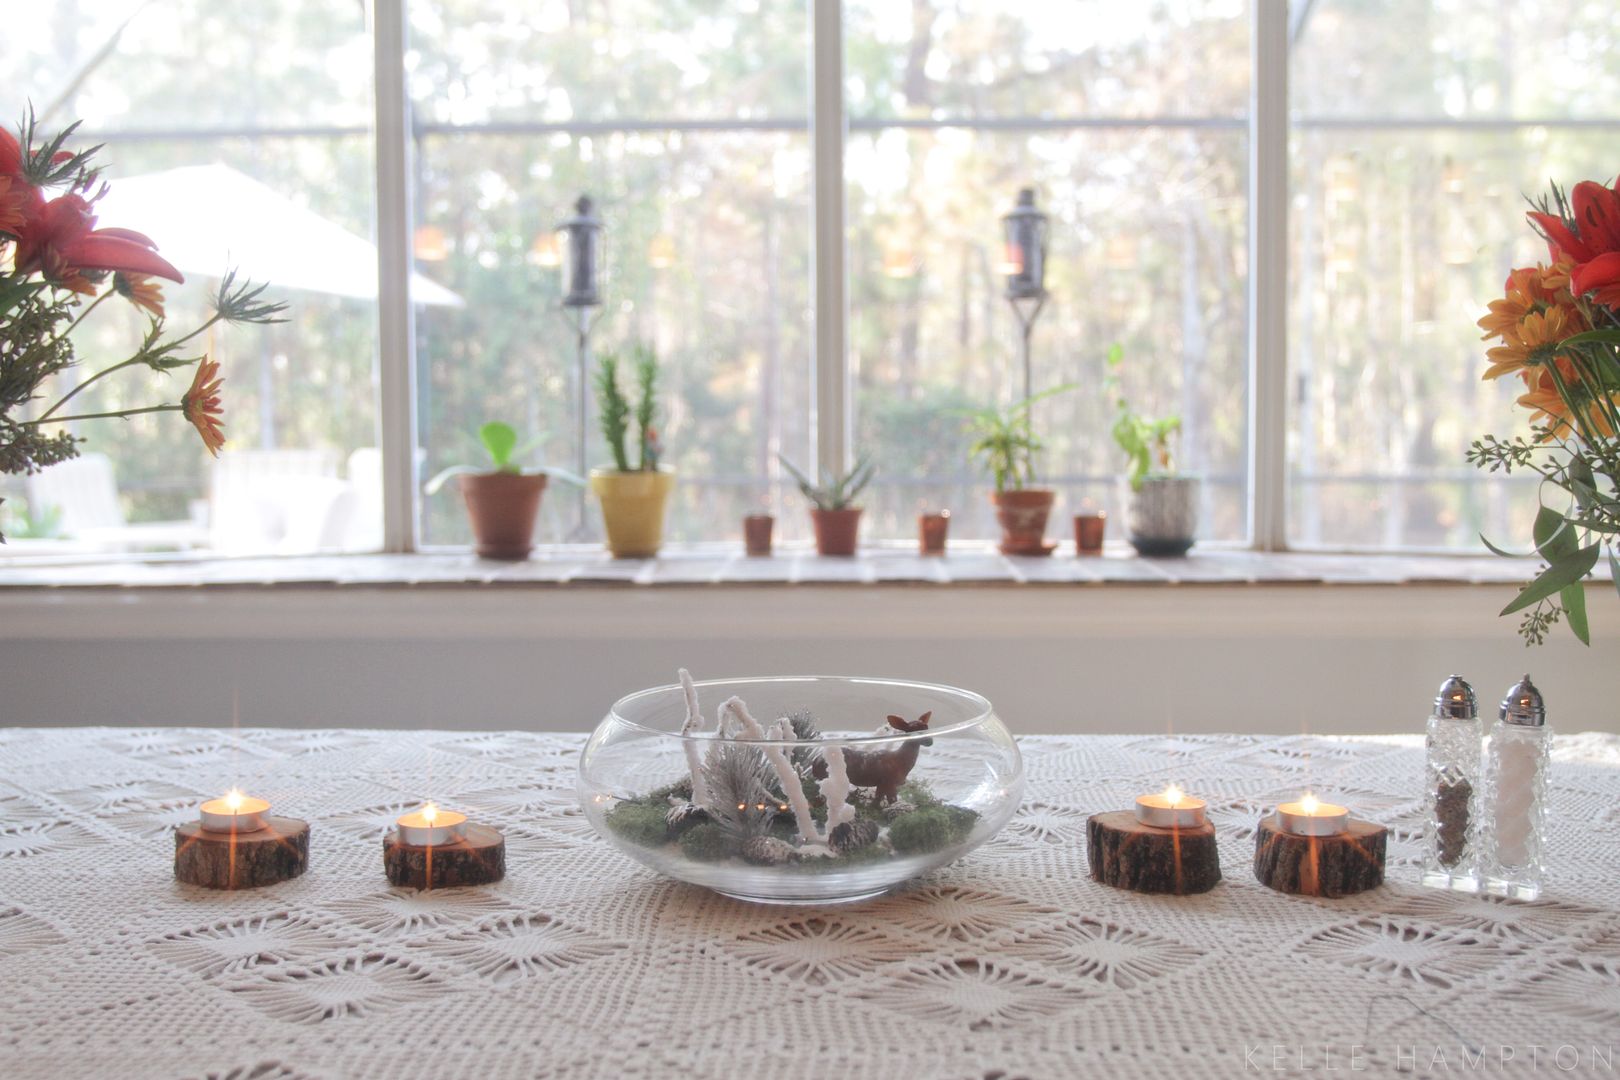
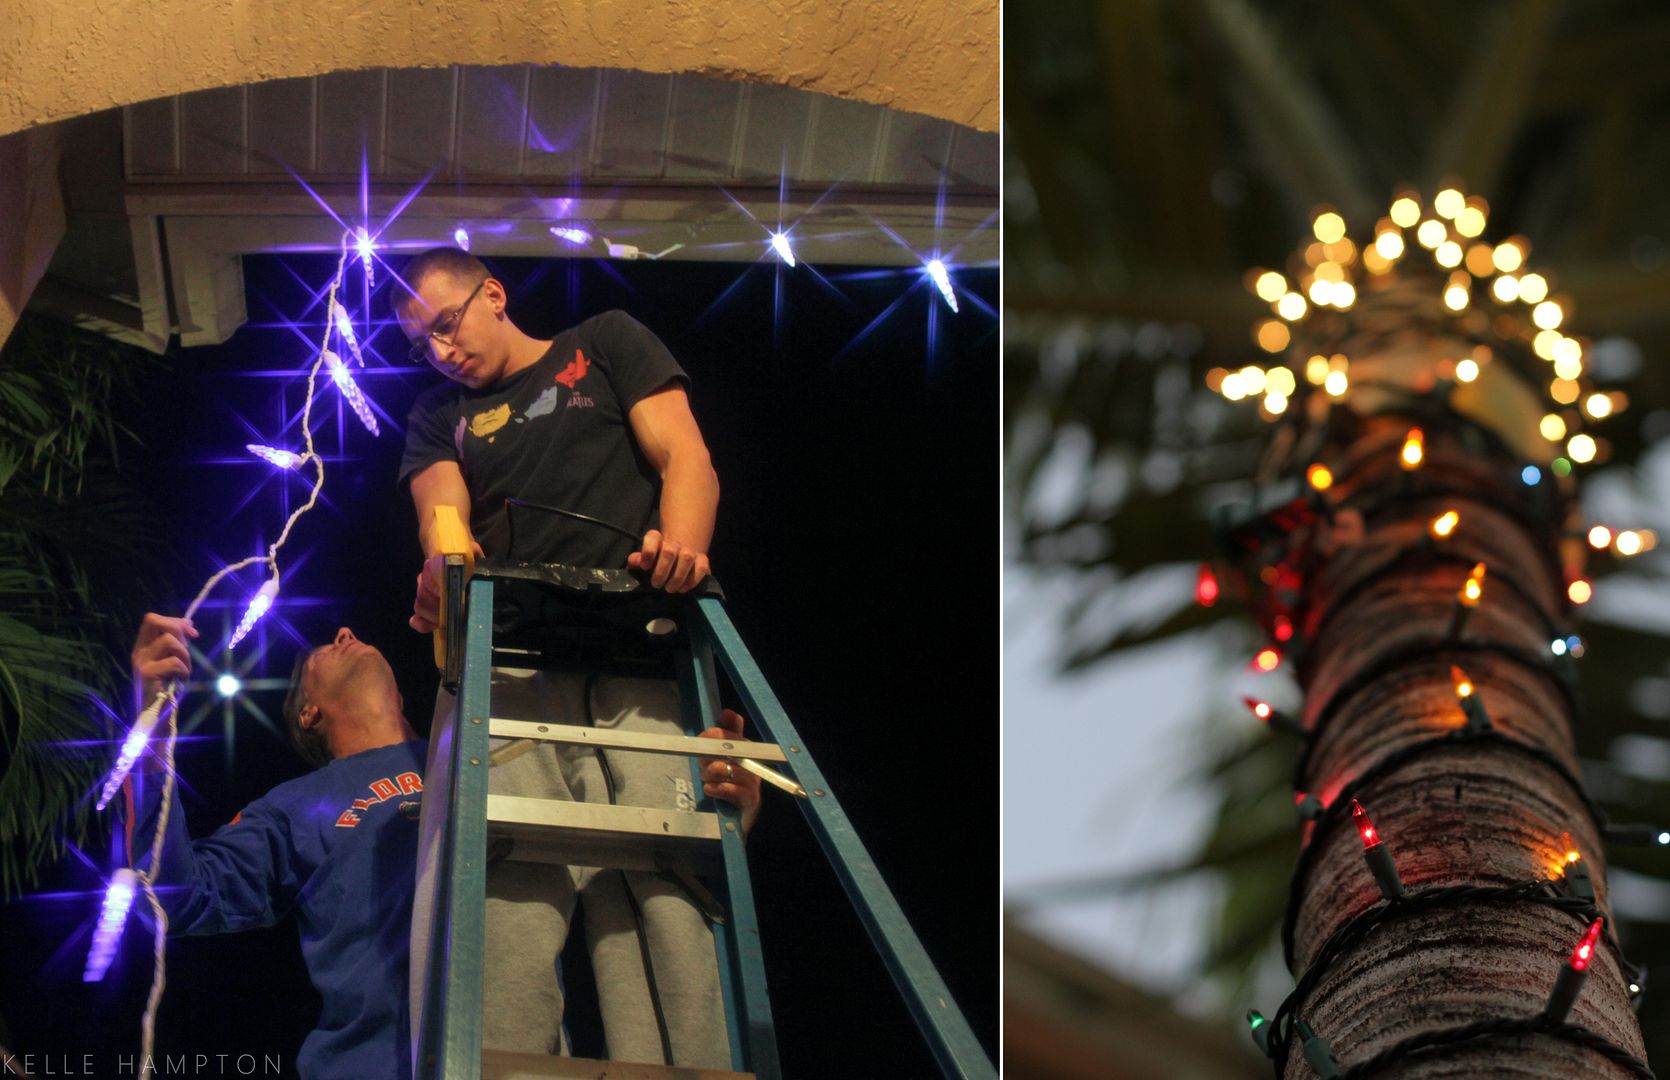
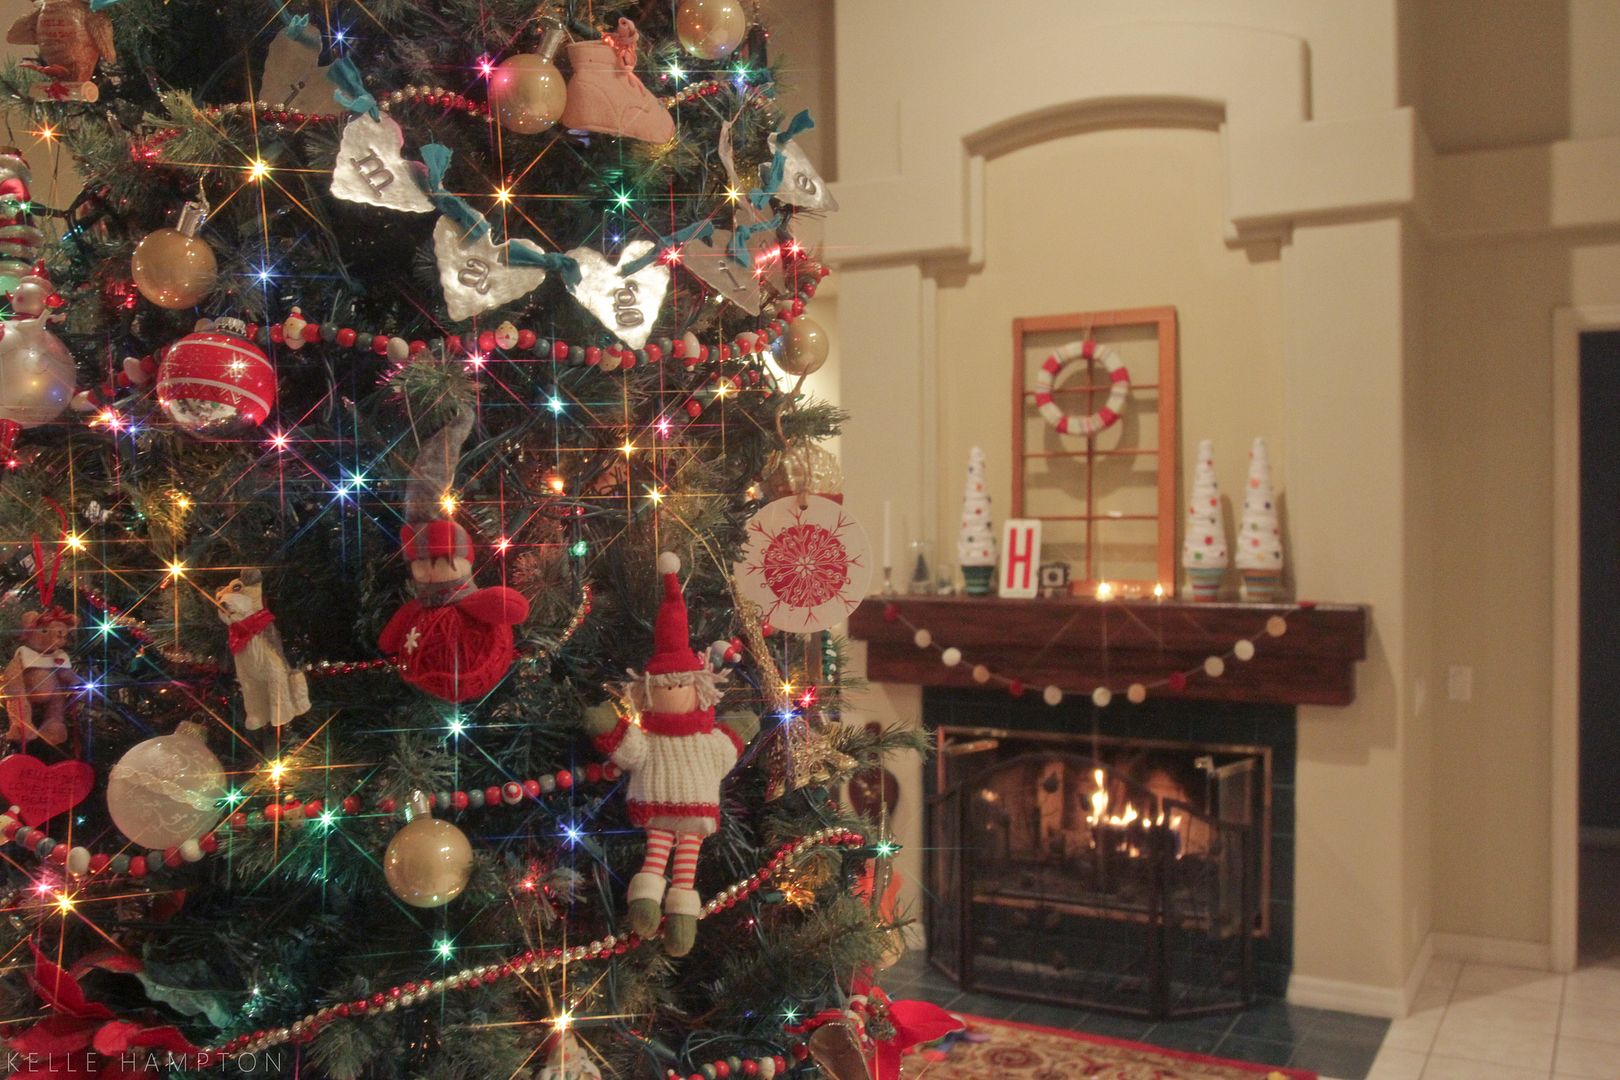
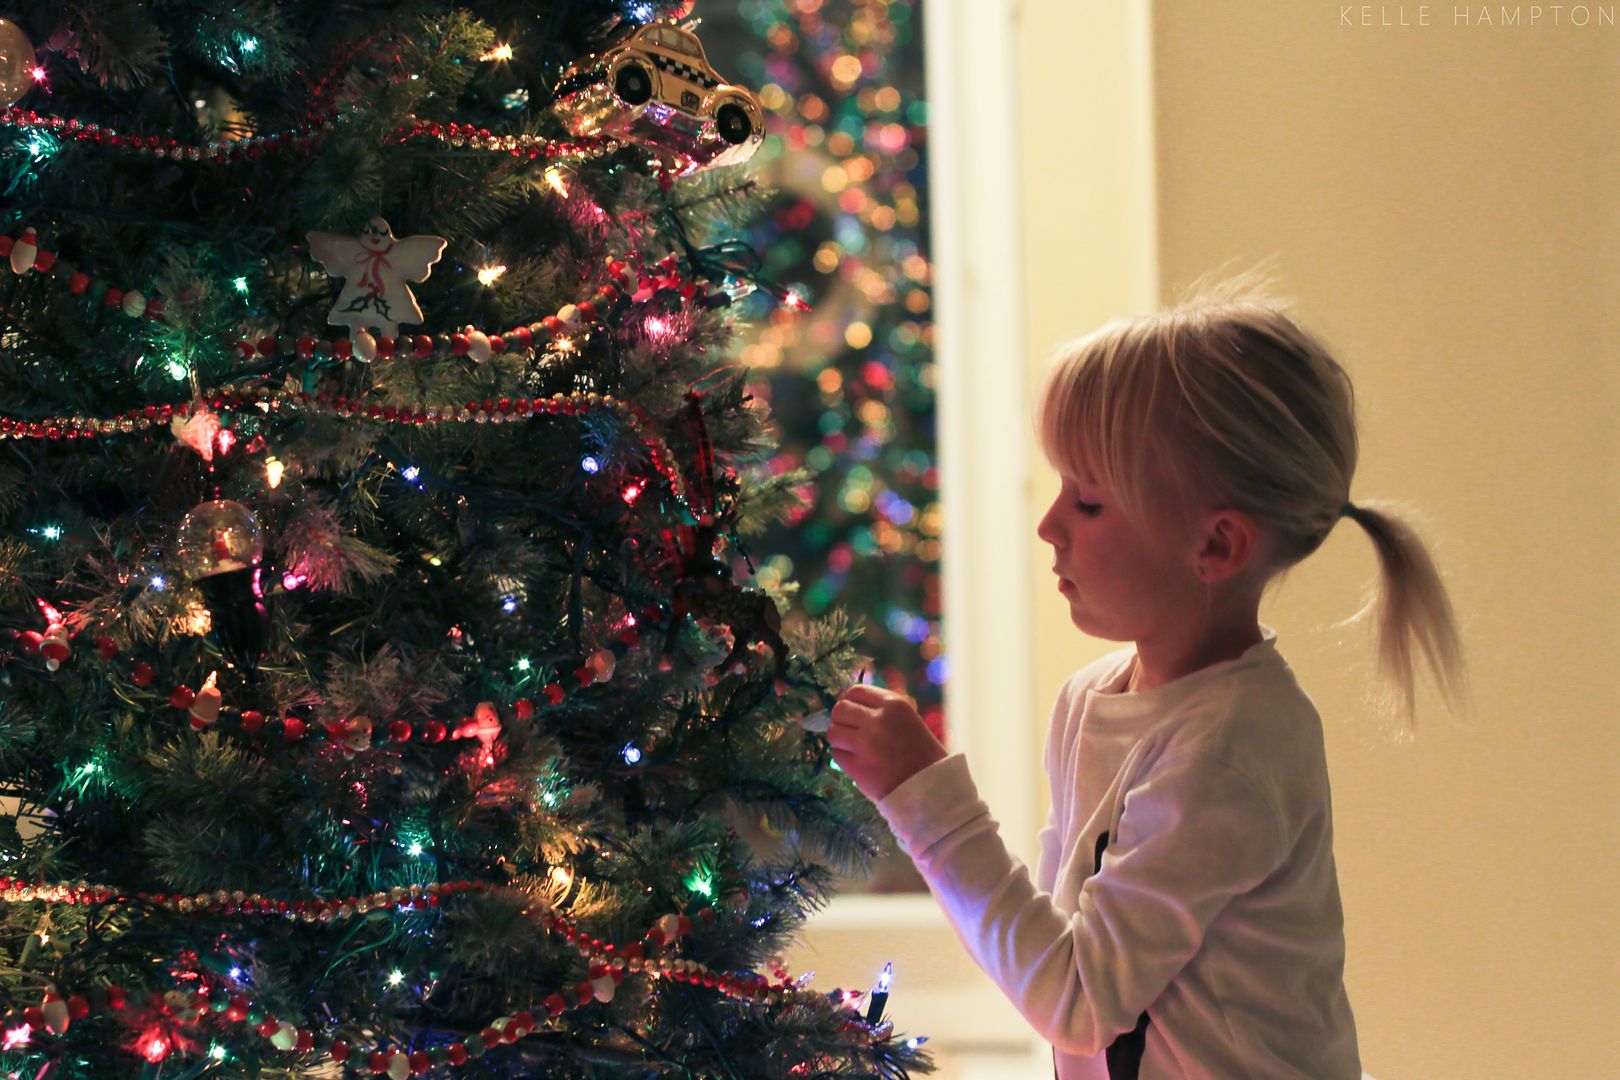
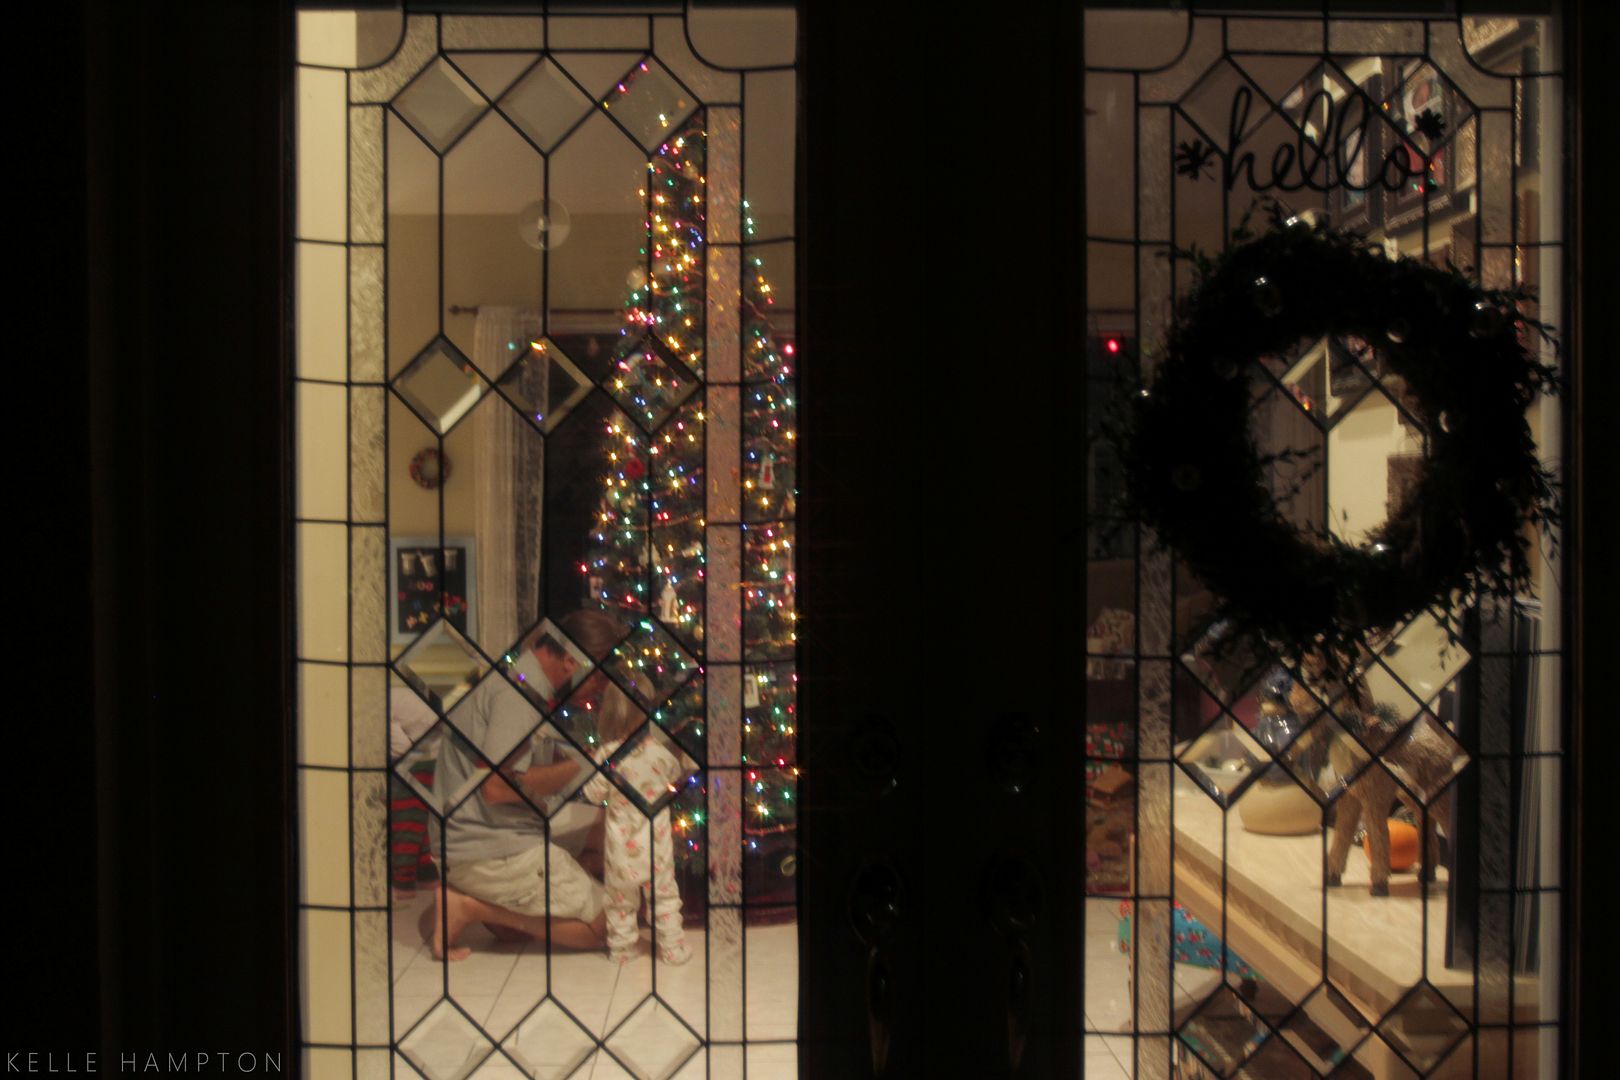
In three days, our house has been properly Christmas-tized–corners iced with twinkly lights, nooks adorned with pinecones. This morning, as I stepped out onto cold tile after my shower, I smelled the residue of dust that has rested on electric heat pipes for a good nine months and finally got the chance to burn off. Yes, we ran the heater–a monumental occasion down here but one to be celebrated when it lines up properly with holiday preparation.
The unspoken agreement in our home is that I get the final say on inside decor and Brett has the outside. In other words, I don’t exactly love flashing, colored LED lights that scream Vegas, Vegas, Vegas! But Brett loves them, and I like the way they make him happy. I will put my foot down when he attempts to synchronize them with landscape speaker-blasted Grandma Got Ran Over by a Reindeer.
Tradition and home are such comforting things right now. And I love that elements of both of these are controllable–I can create so much of what I want for my family. So that’s what we do right now.
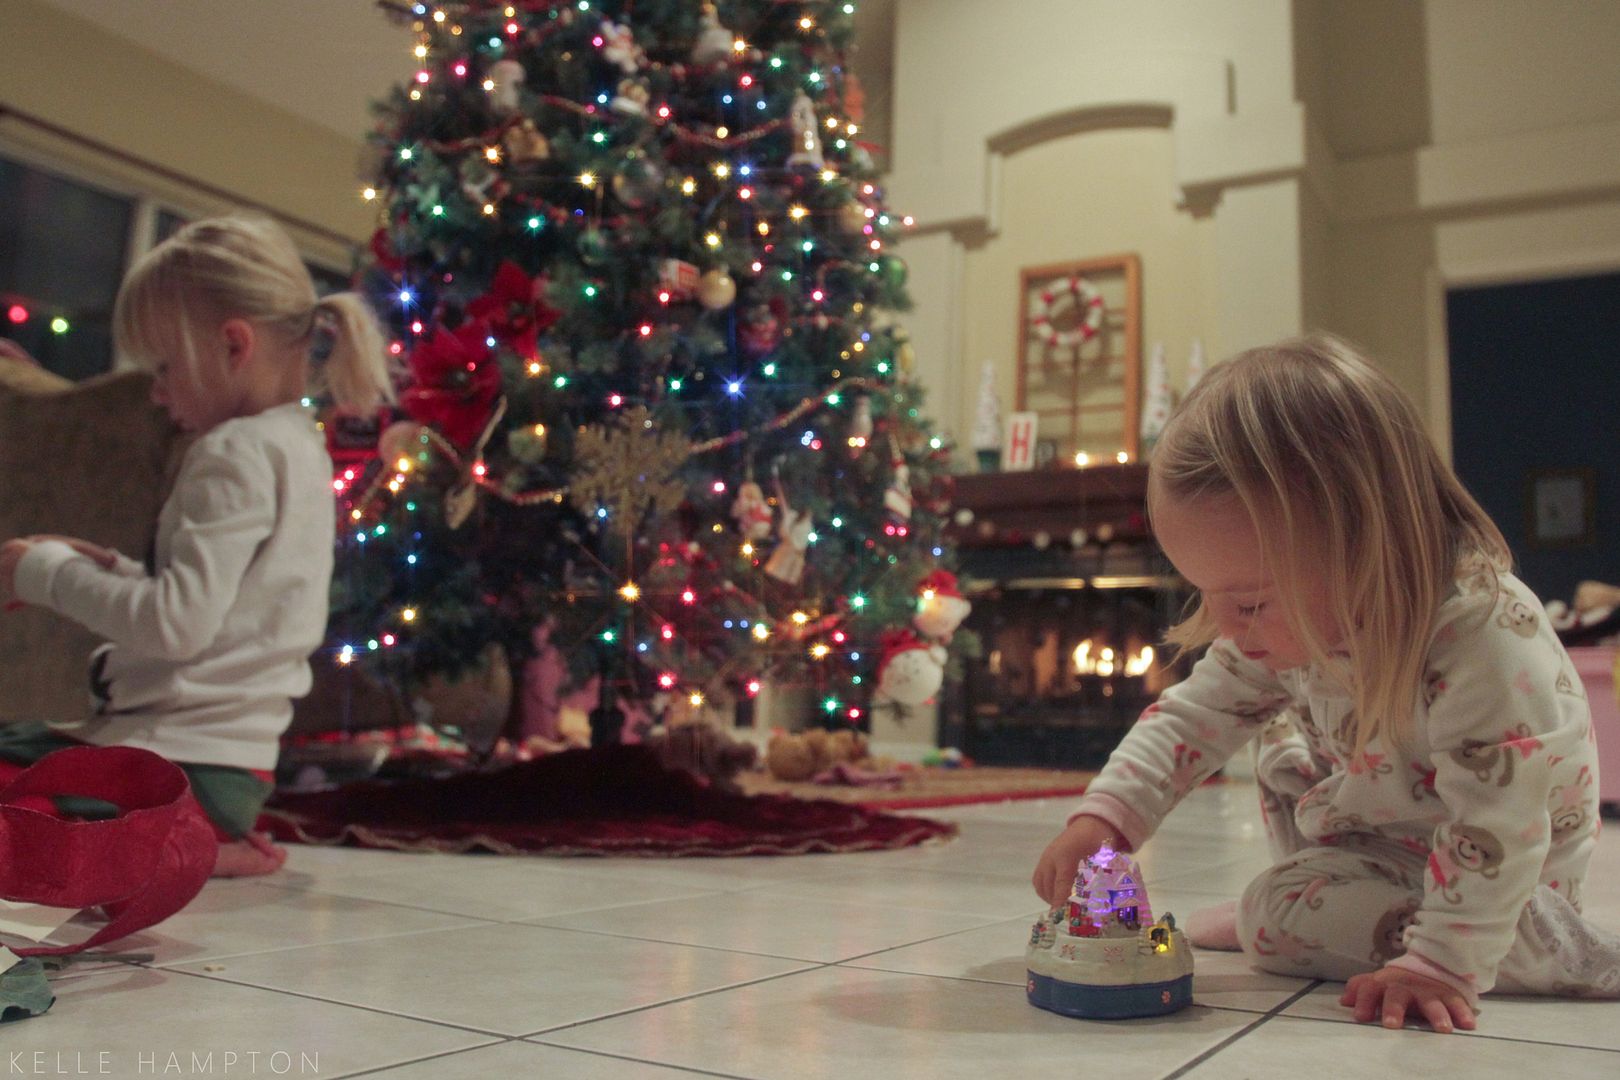
This little Hallmark music maker has been around since Lainey received it on her second Christmas. It is a favorite of my girls.
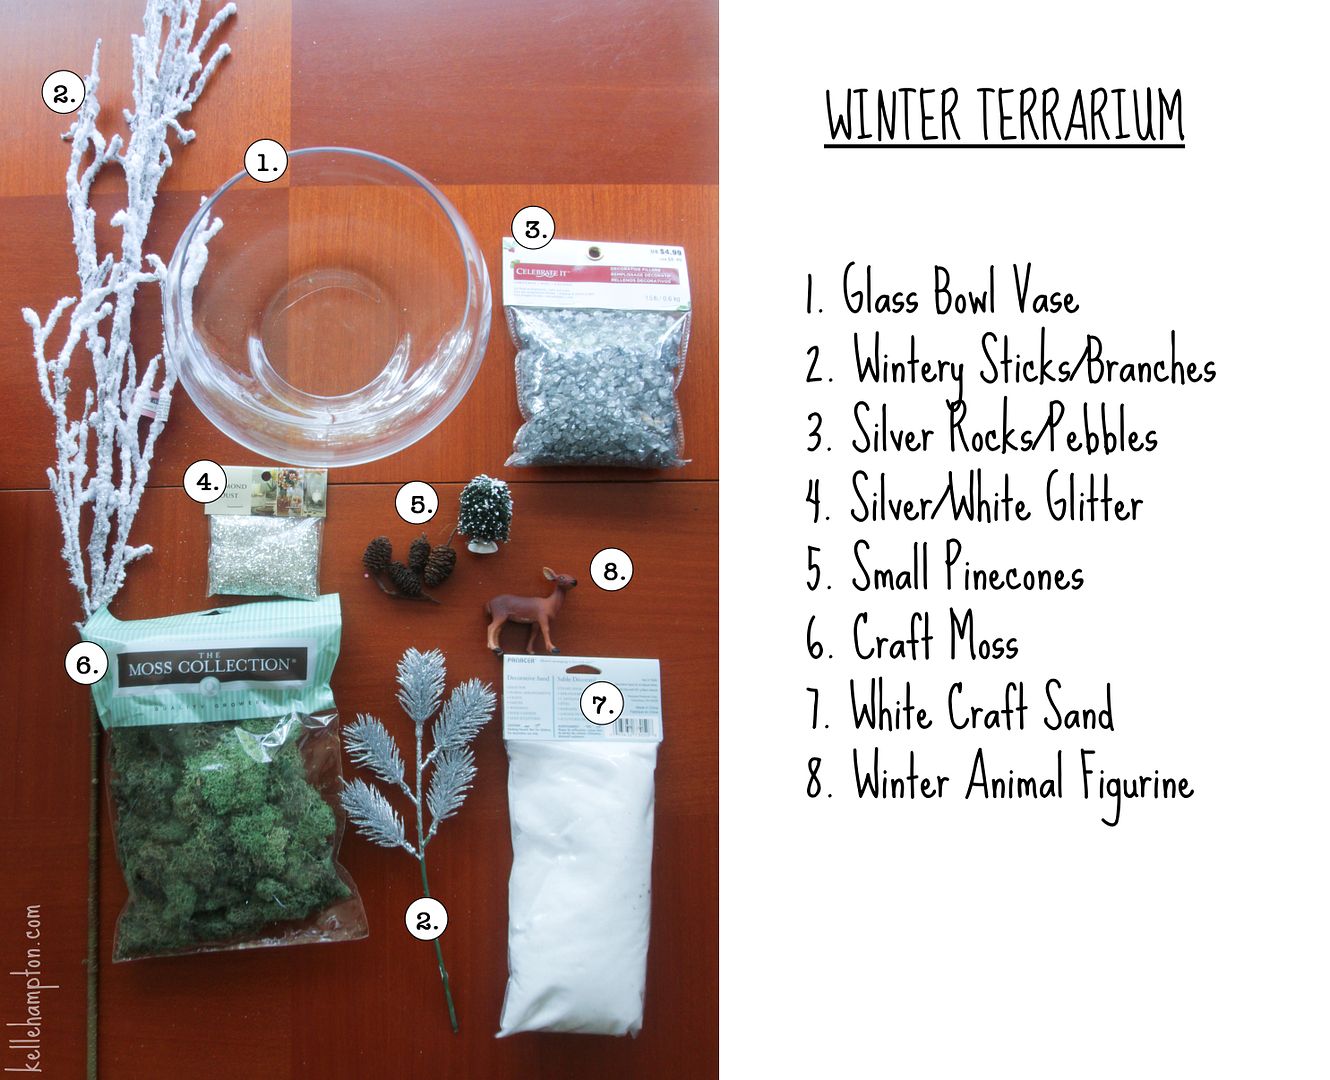
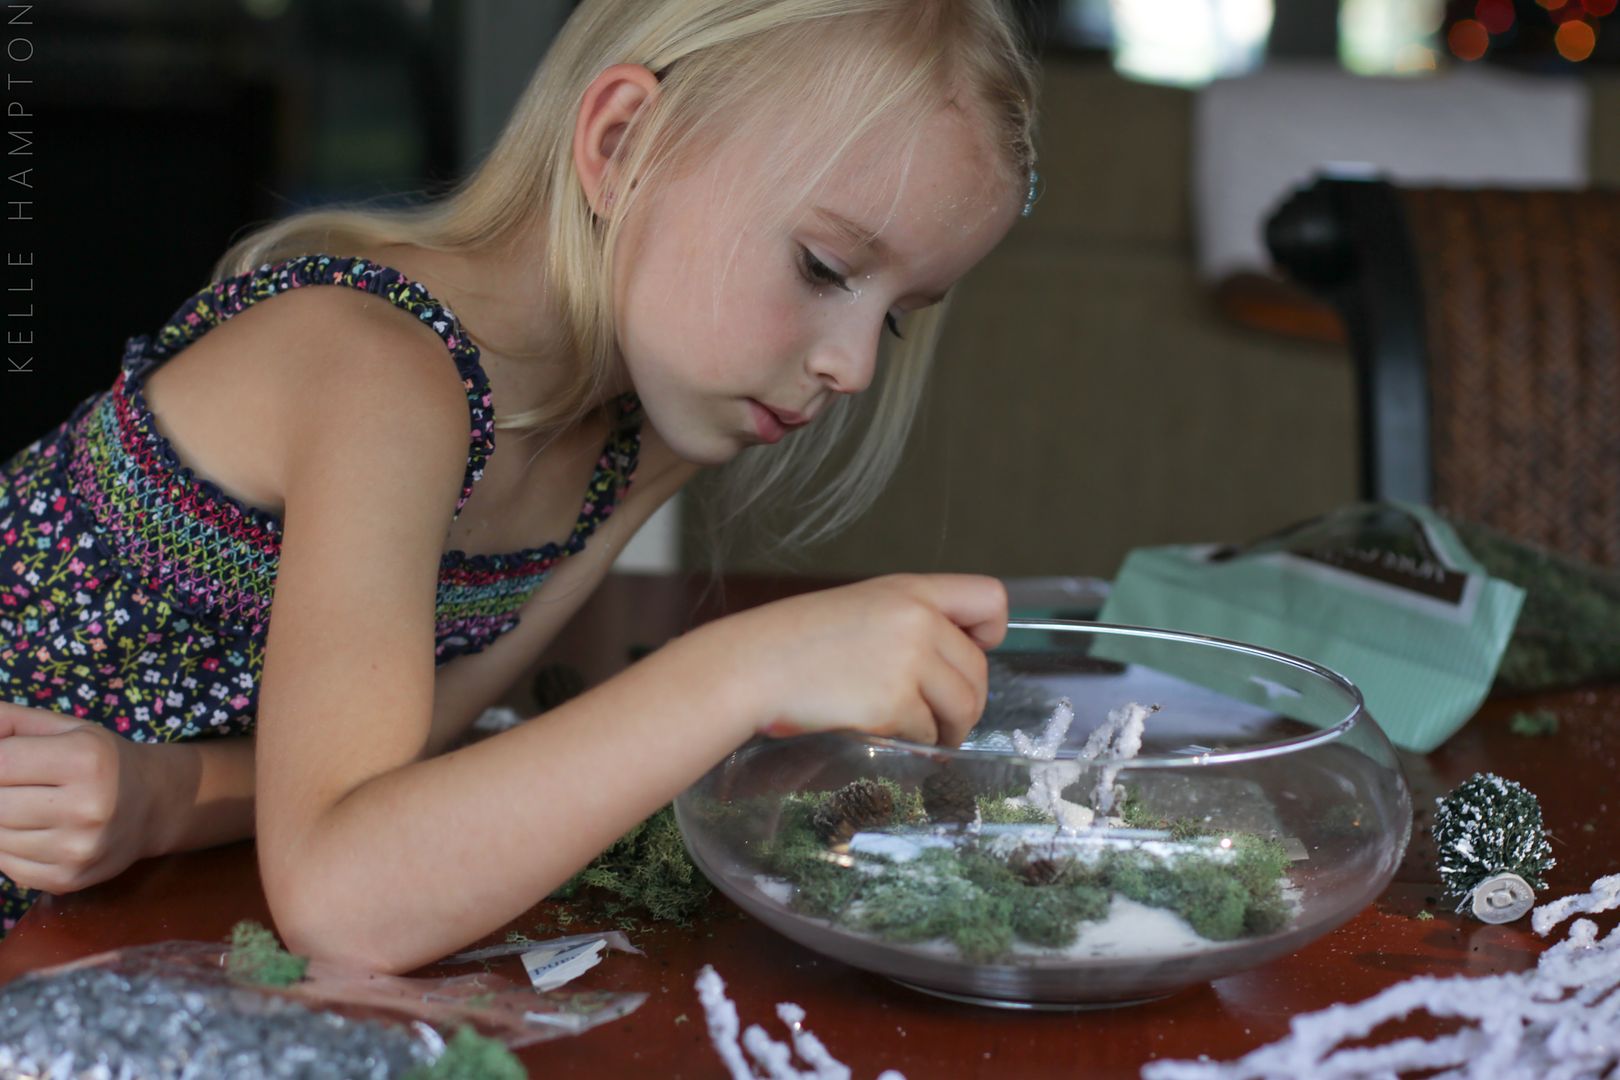
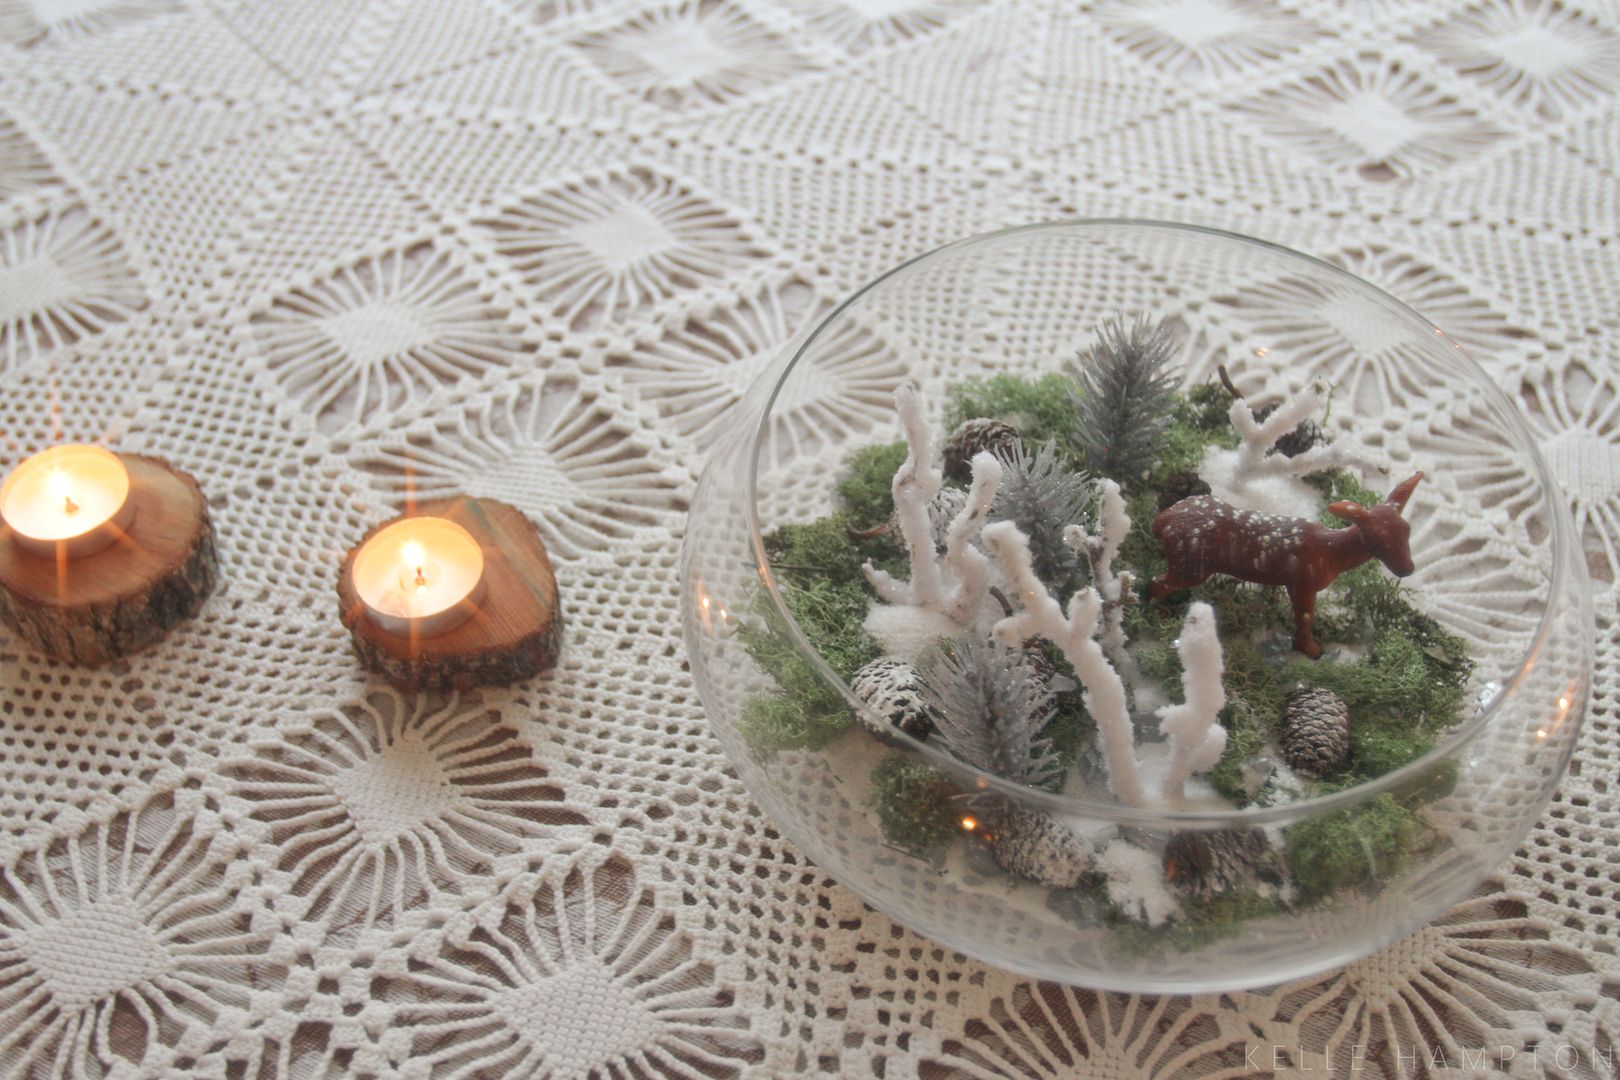
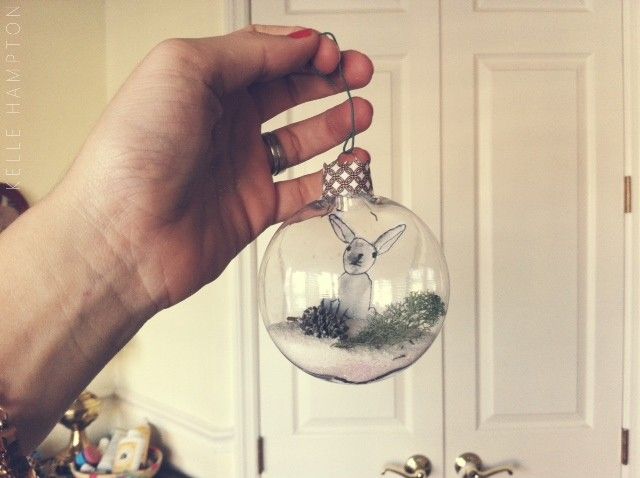
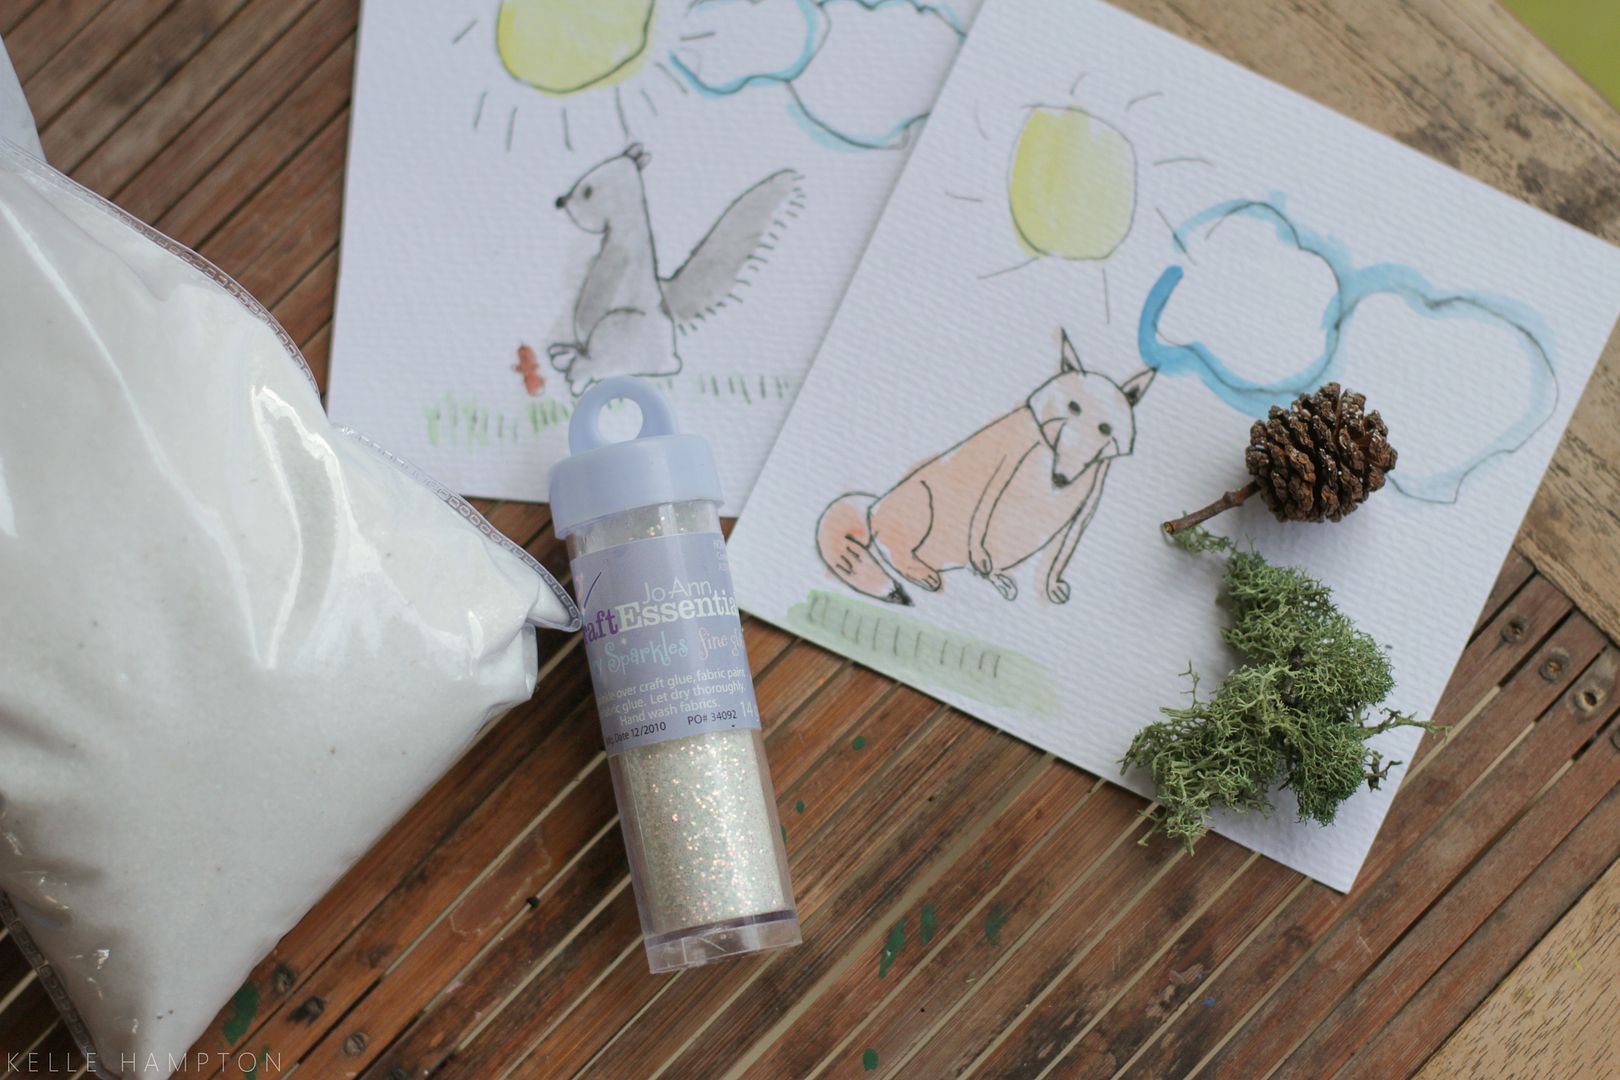
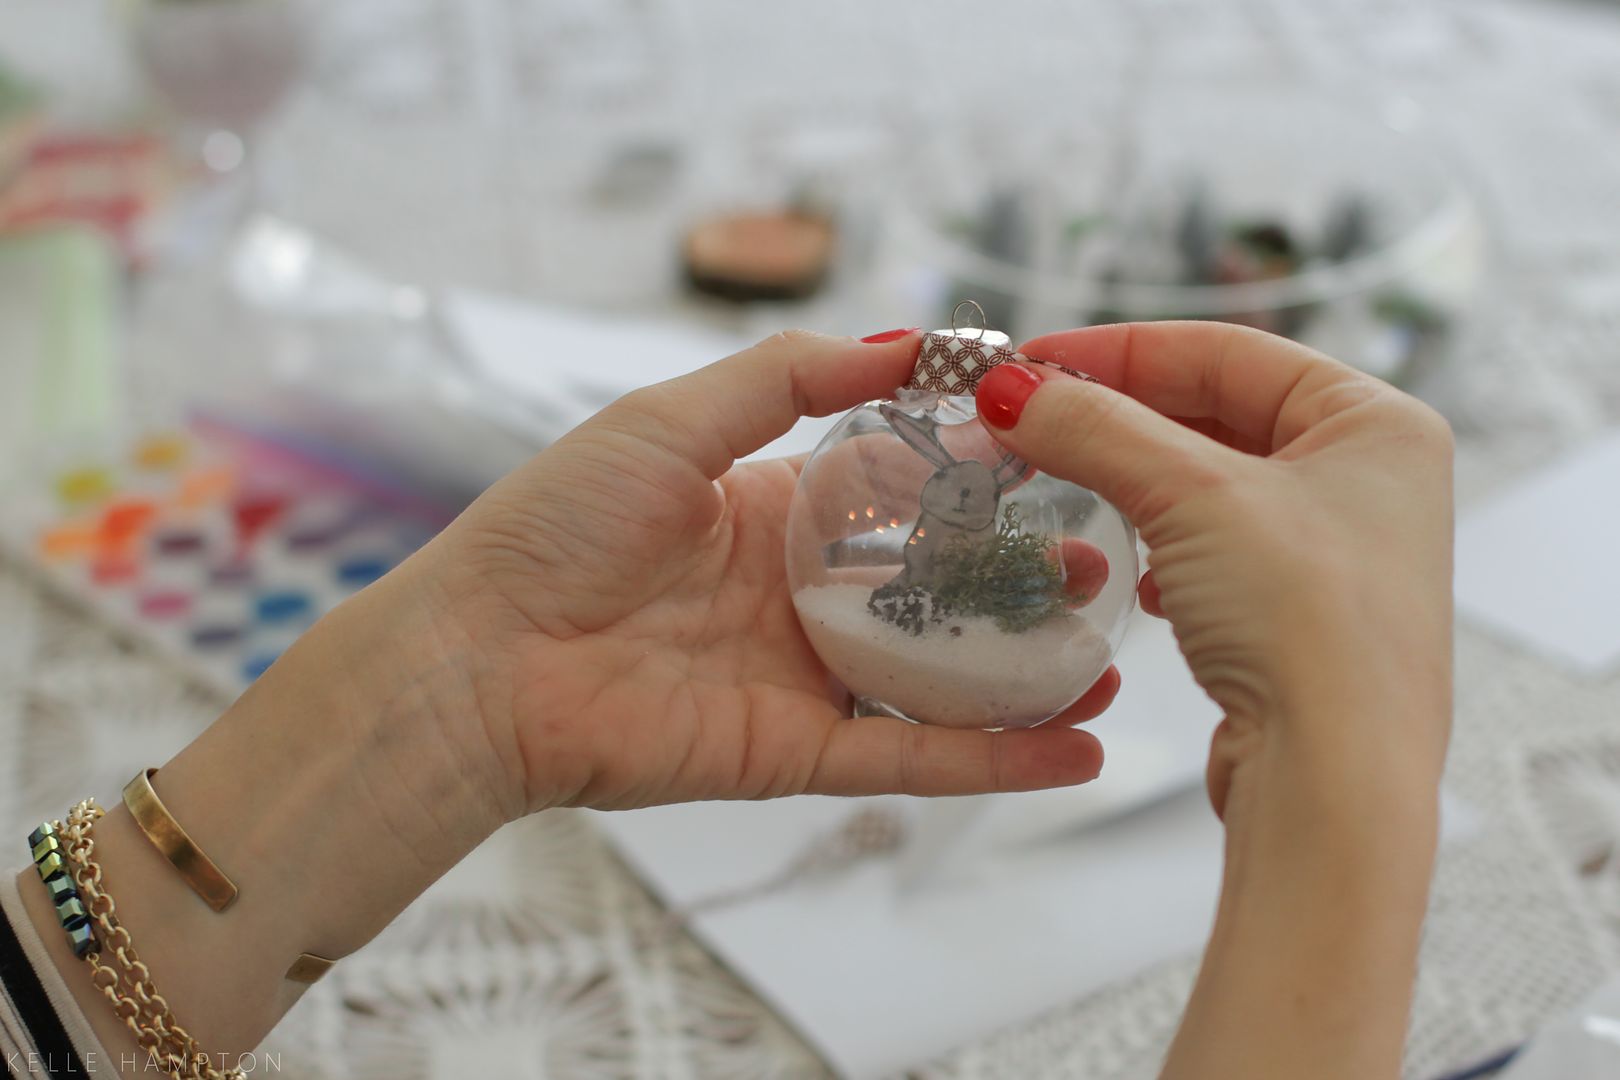
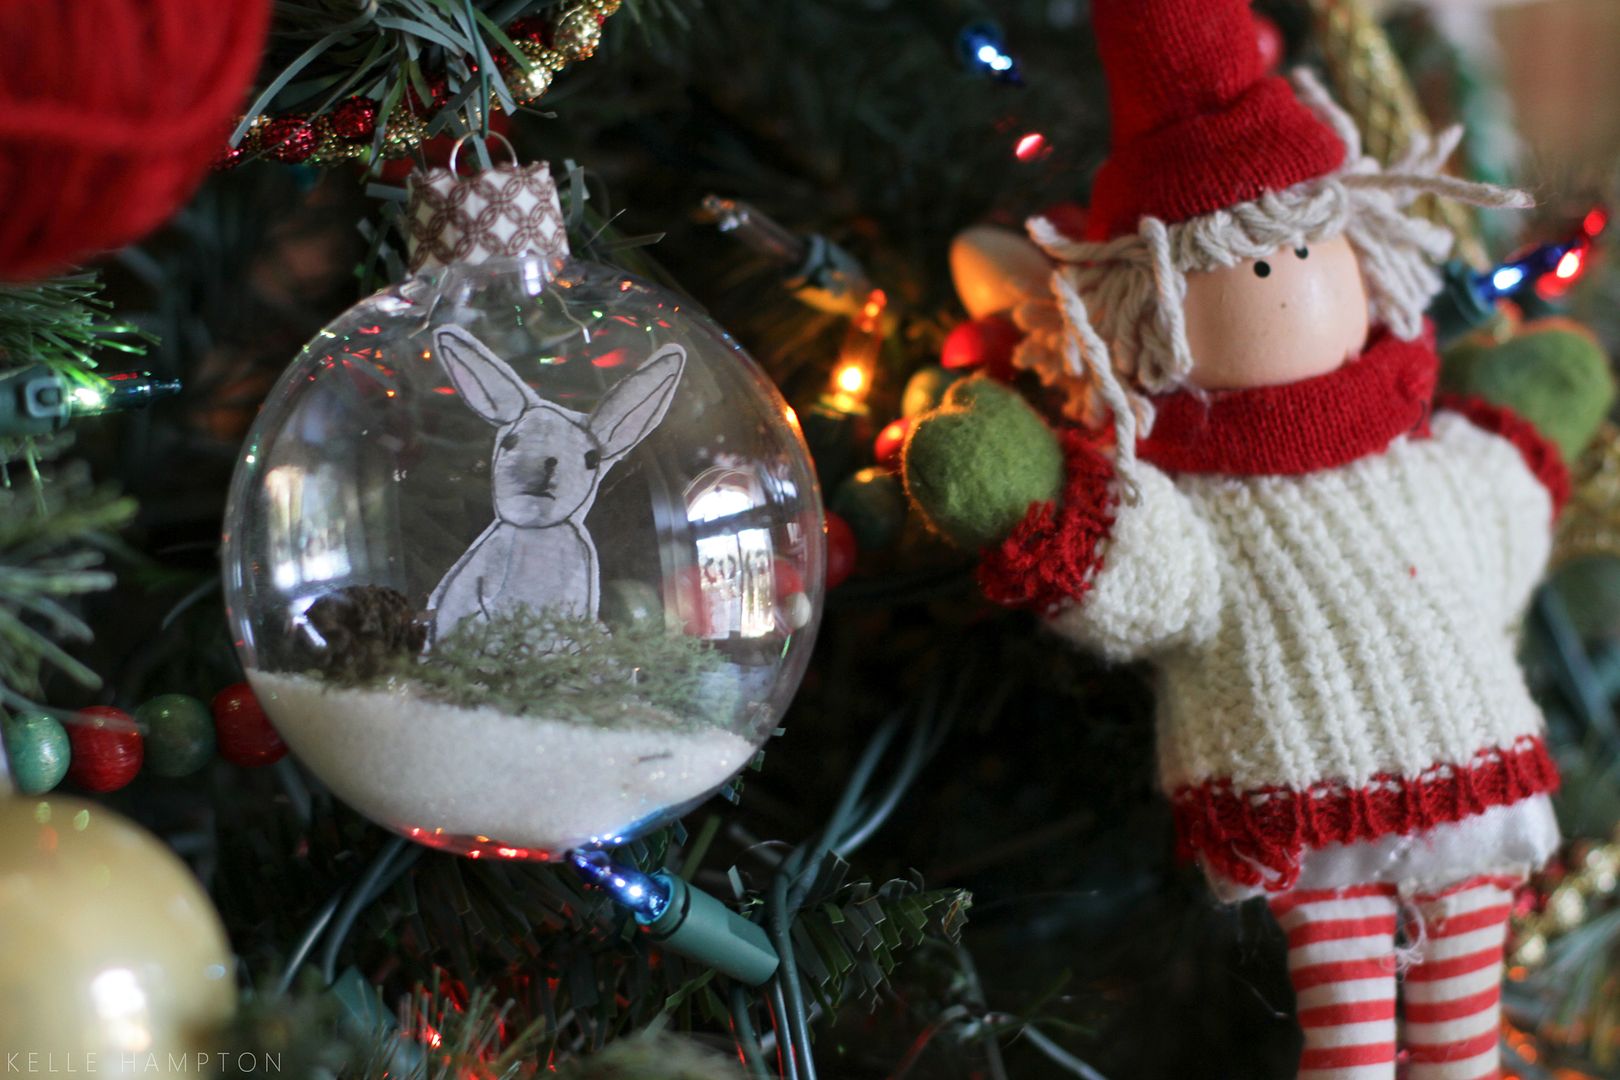
We crafted and created a lot this past weekend. I’ll share a few of my favorite creations this week, the first being this little snowglobe gift. I’ve been trying to think of a way to turn some of Lainey’s drawings into Christmas gifts, and I had some leftover supplies from our winter terrarium (will share later this week). We combined them to create winter scenes for her art.
We’ve been using Sachiko Umoto’s drawing book to guide Lainey in drawing some woodland creatures. She’s very meticulous (;o) tedious) and it takes her a long time, so if I were to do this over I’d scan the artwork first and duplicate it to make several ornaments for friends and family to save her from drawing too many.
Breakin’ down into teeny tiny easy steps.
KIDS ARTWORK WINTER WONDERLAND ORNAMENTS:
You’ll need:
* Clear Glass or Plastic Fillable Ornaments. We found ours at Joanns and they work great because they are flattened, making it easy to adhere drawing.
* Your child’s artwork (keep it small, no bigger than 2 1/2 inches tall).
* Pure white crafting sand (available at craft stores). We used white craft sand because we already had it, but I’m sure you could also use some version of artificial snow.
* Fine White Glitter
* Tiny Pinecones (if you can find them outside; otherwise we found a bag of tiny ones at Joanns)
* Craft Moss
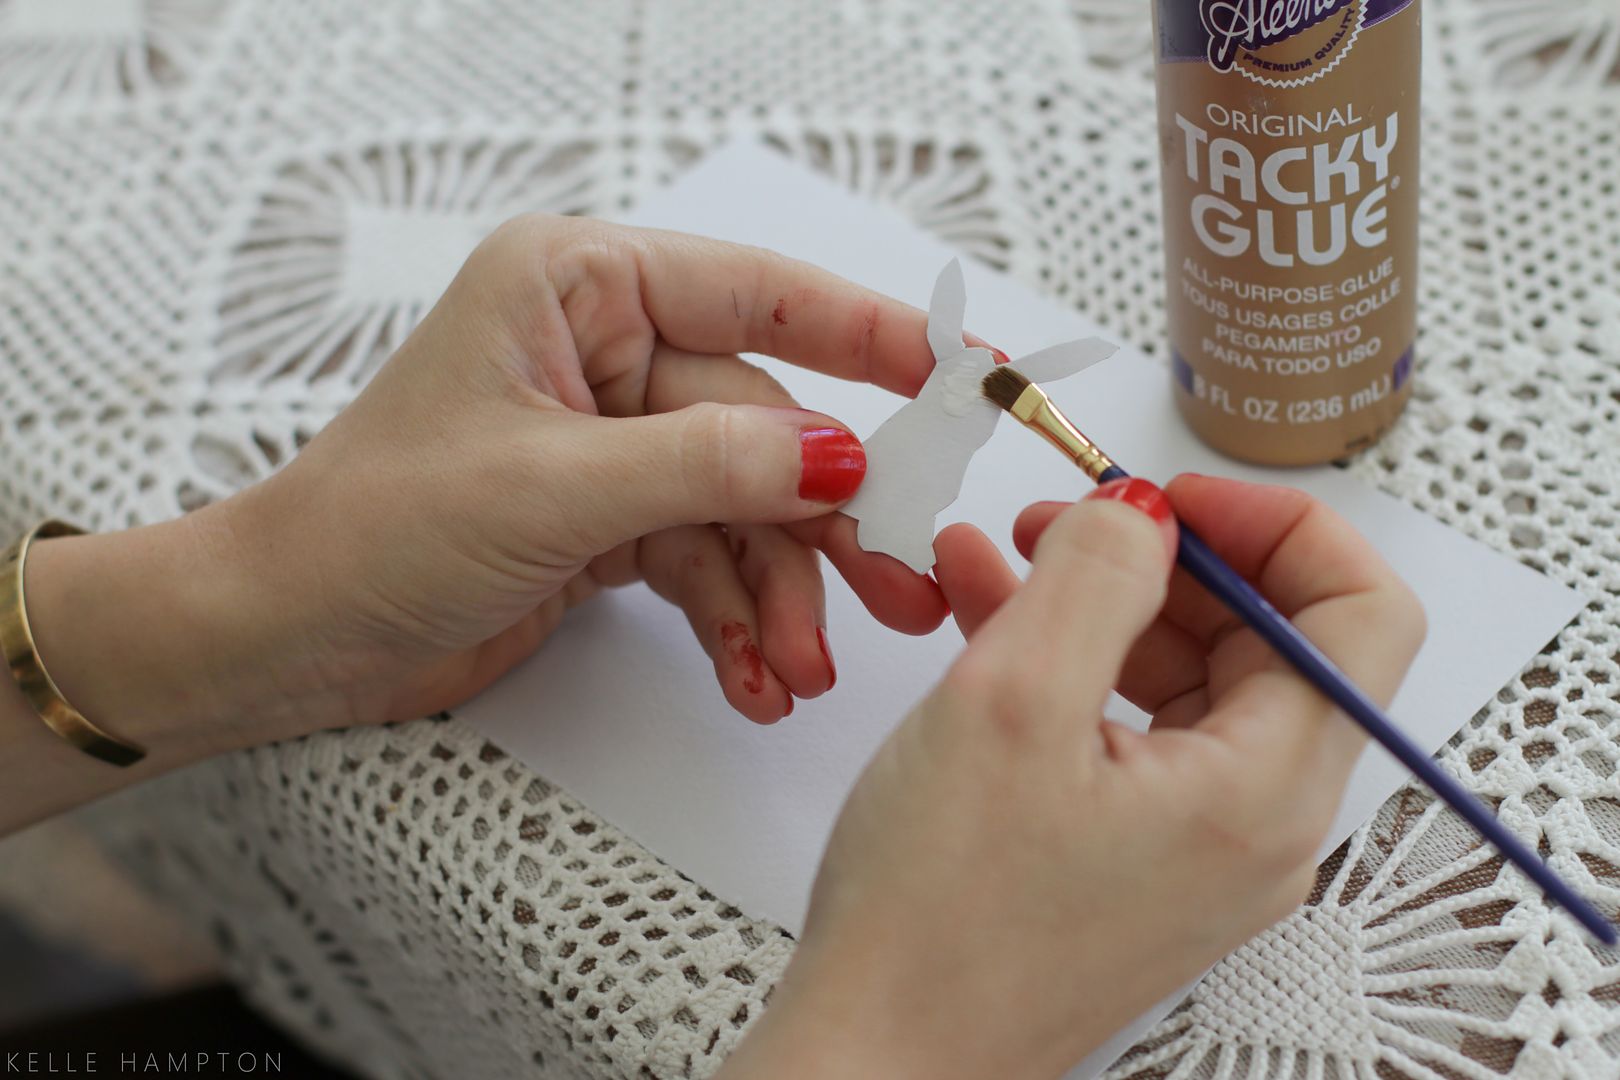
* Tacky Glue, Scissors
* Optional: Fabric scraps to cover the ornament fixture at the top
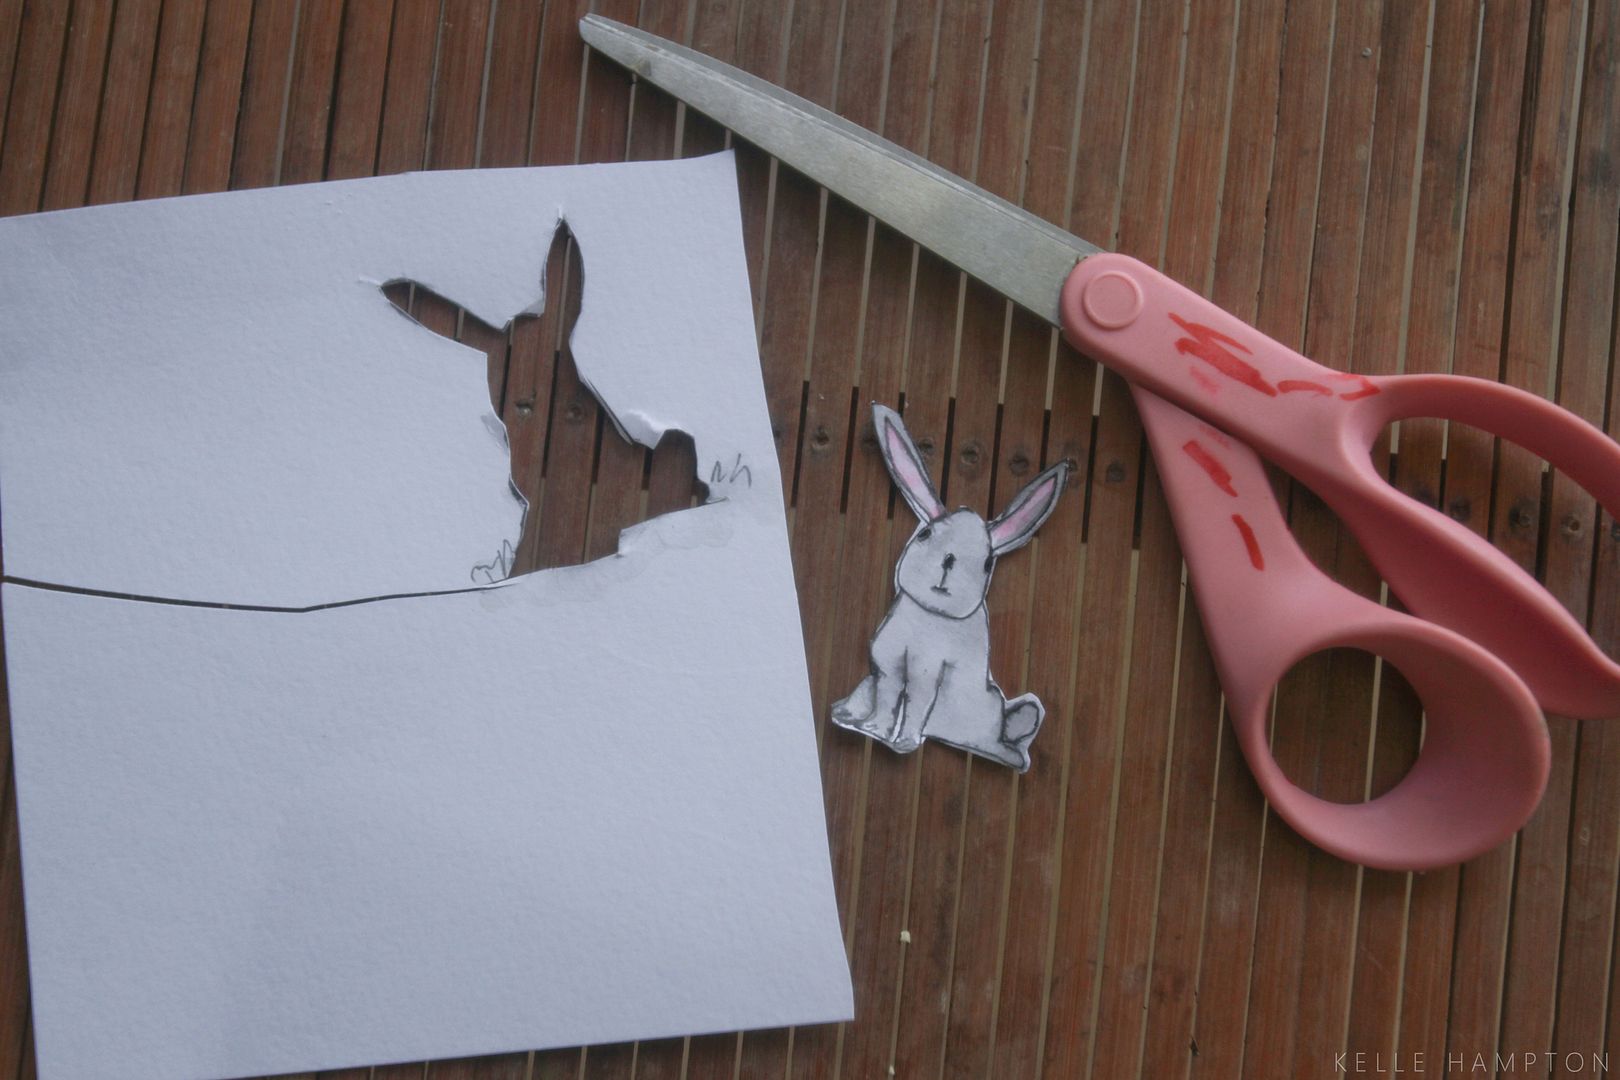
1. Cut around the edge of your child’s artwork.
2. Paint a thin layer of glue behind artwork.
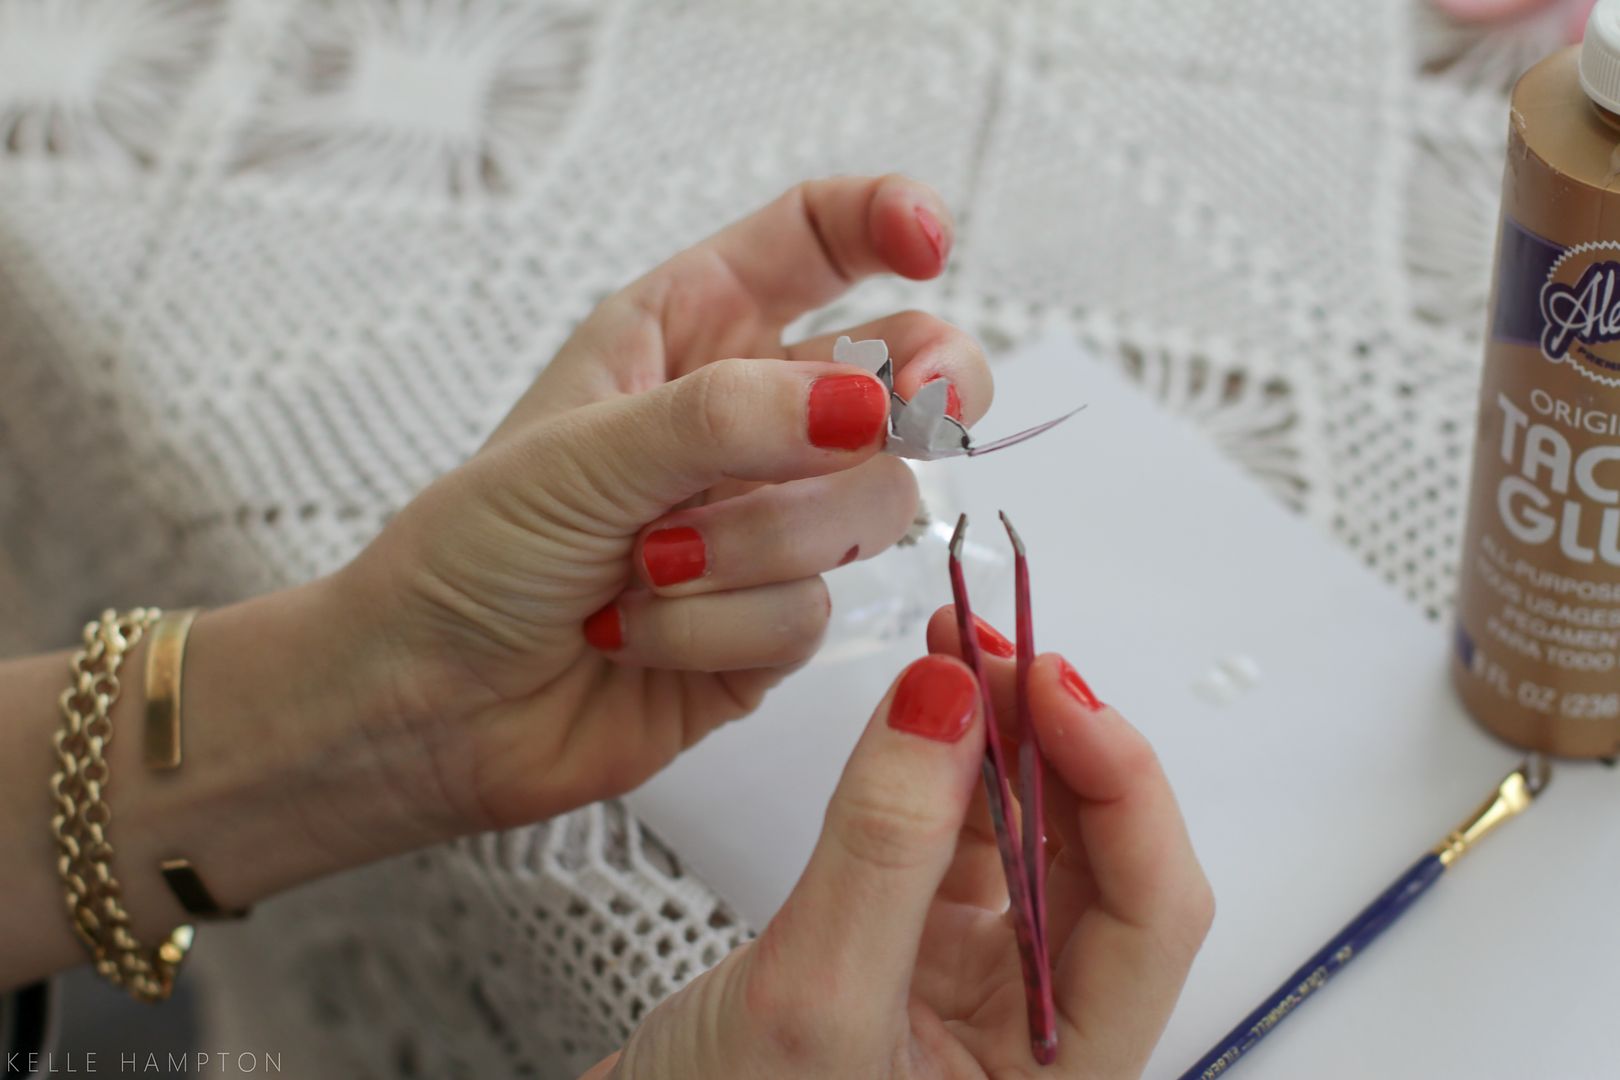
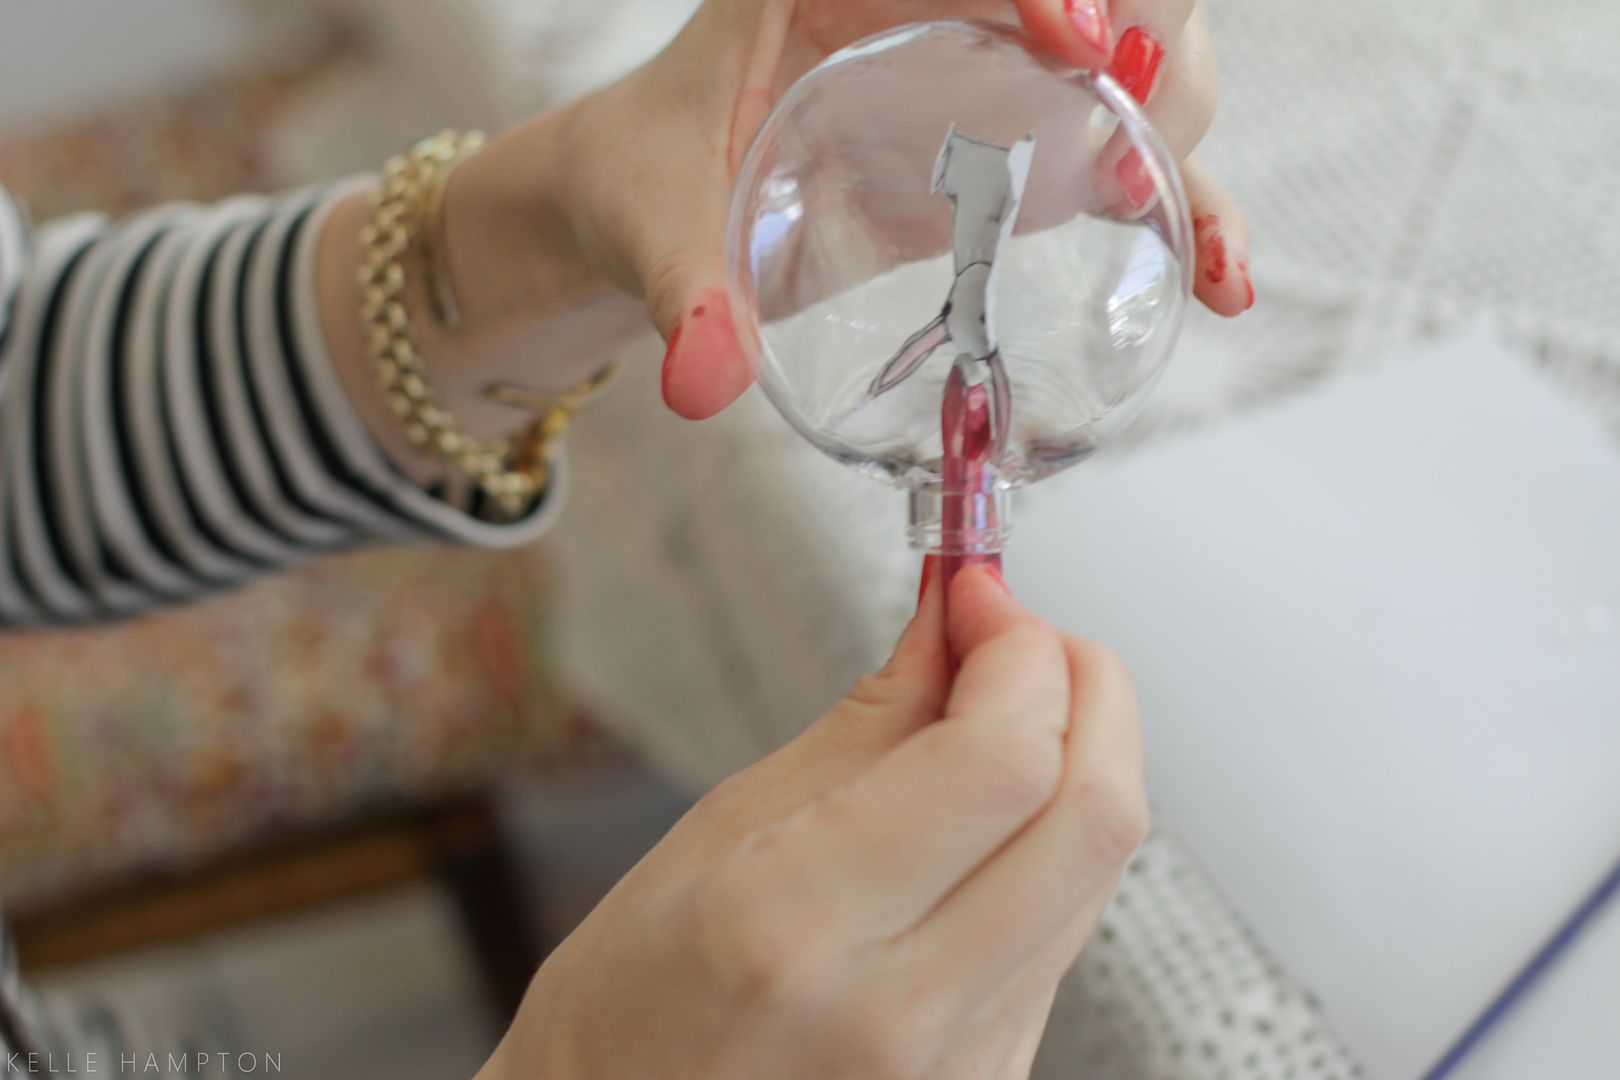
3. Carefully roll/bend artwork so it can be slipped into ornament ship-in-a-bottle style.
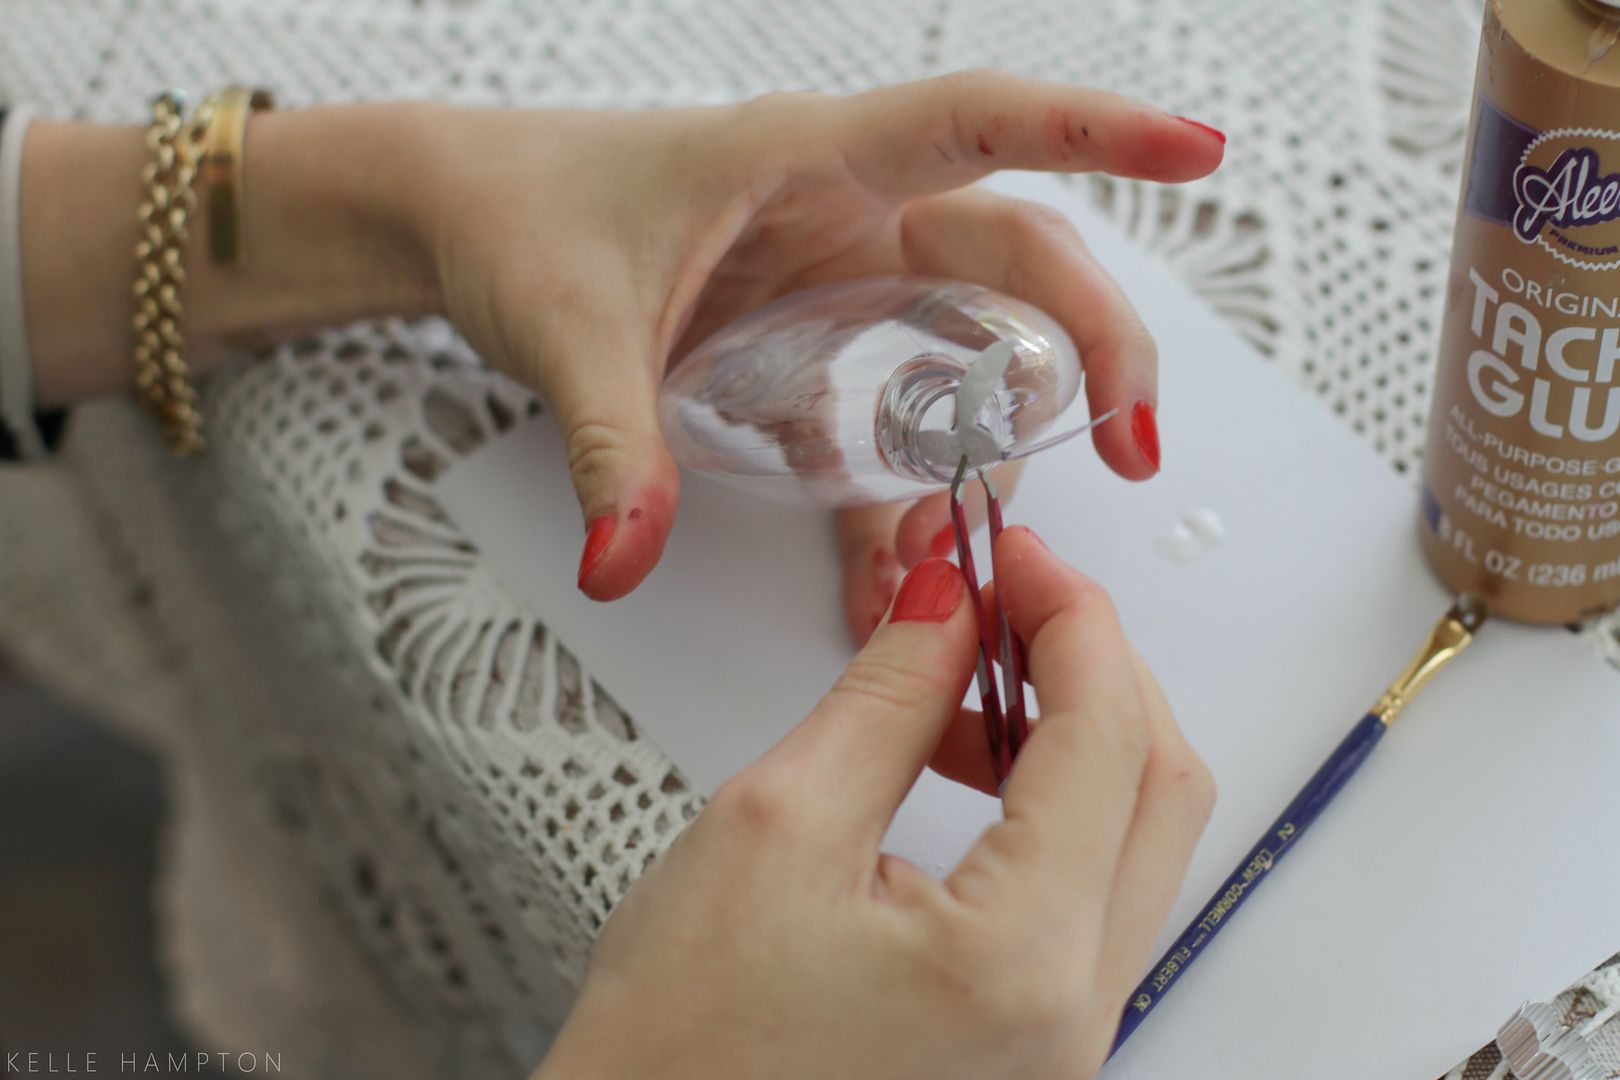
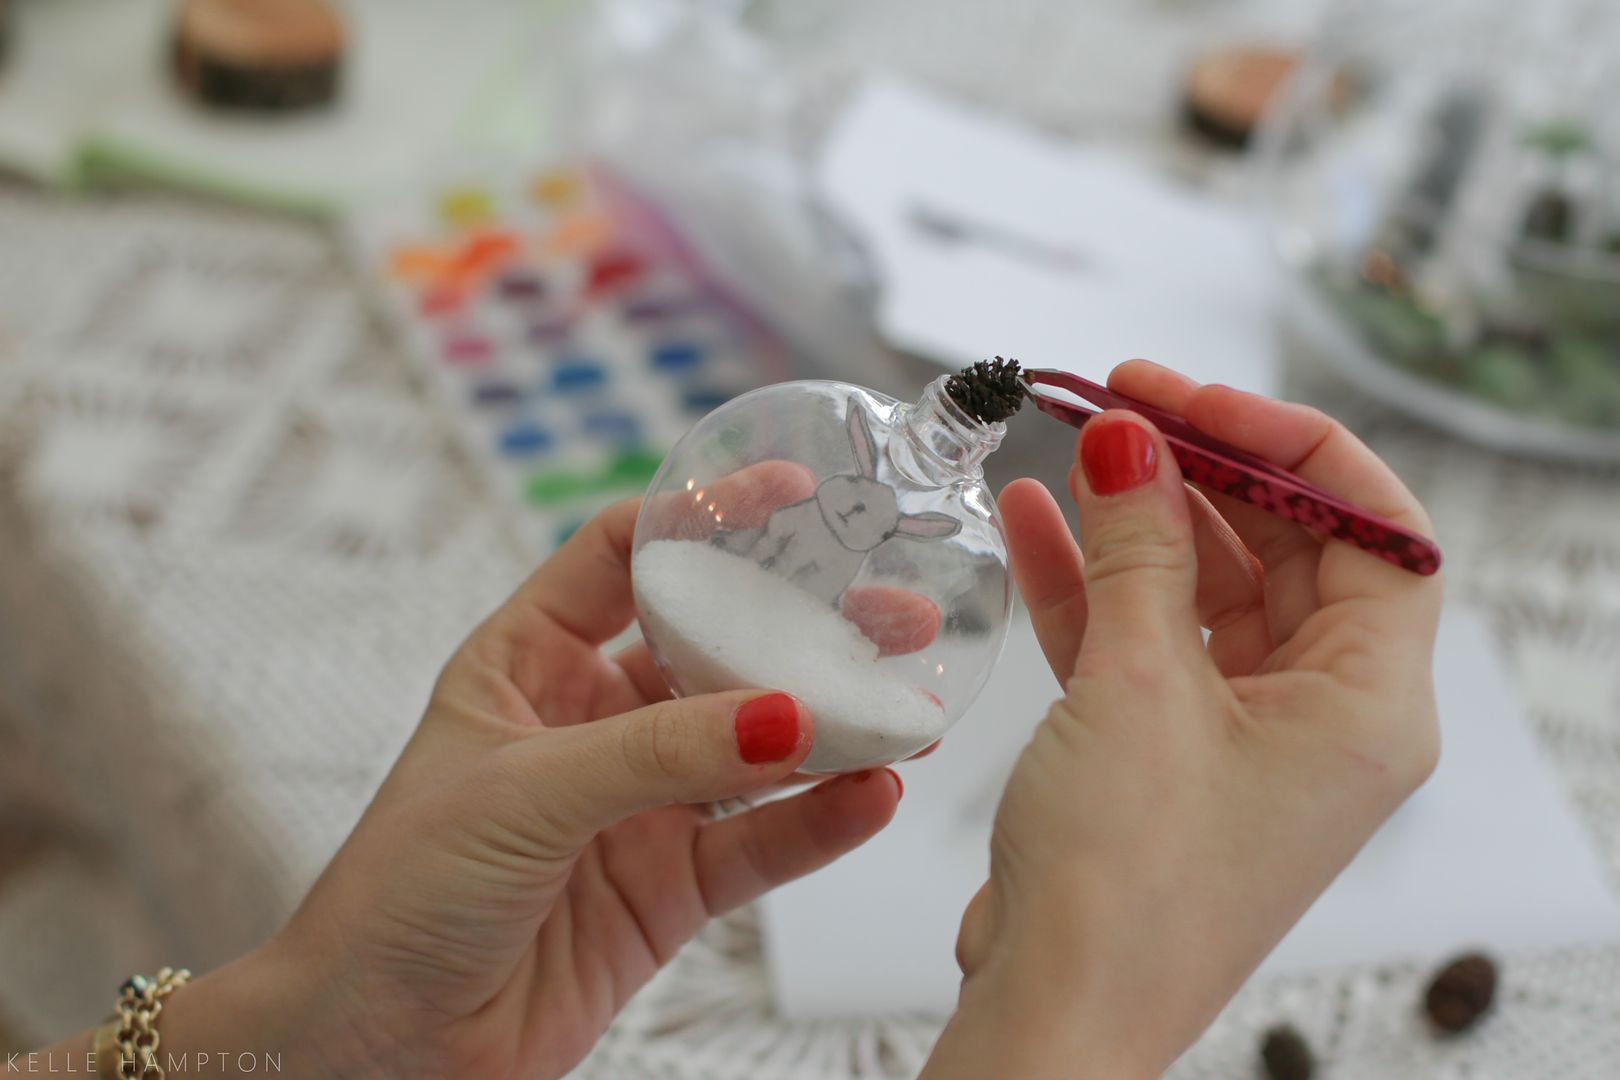
4. Using tweezers, carefully slide artwork into ornament, being careful not to get glue where you don’t want it.
5. Once in position (not too close to the bottom because your snow will cover it up), press down against back of ornament.
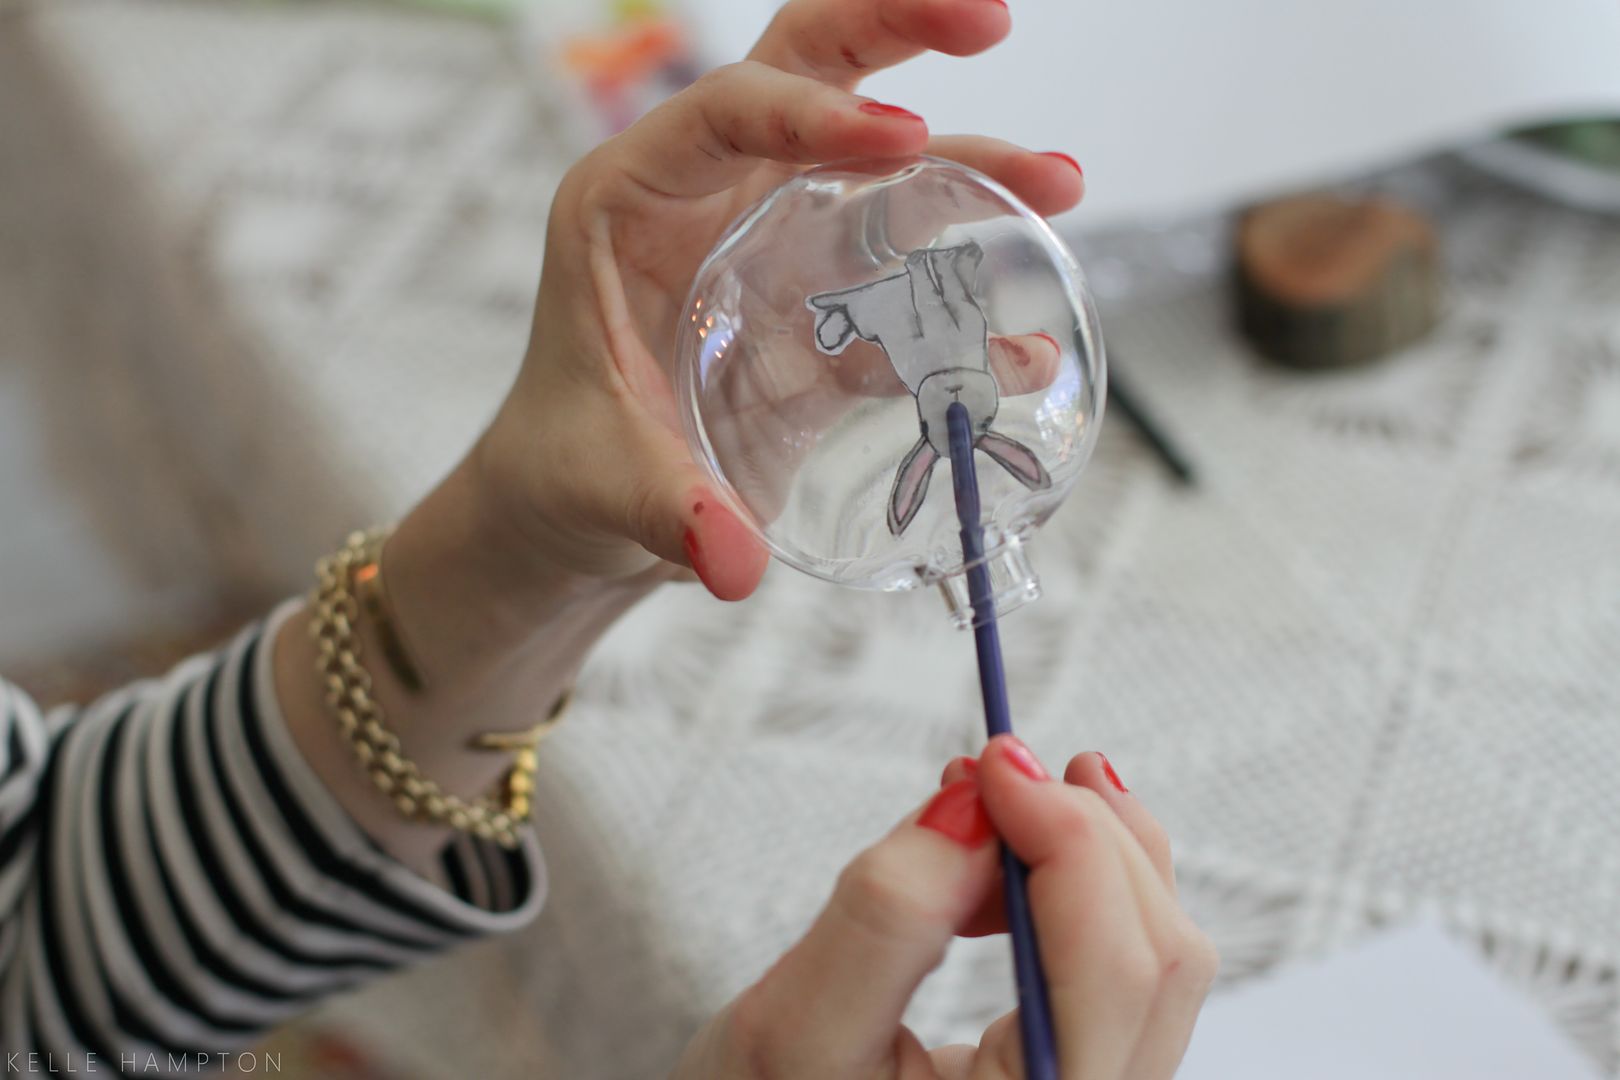
6. Using the end of a paintbrush or pencil, smooth edges of artwork down to make sure everything is adhered to ornament.
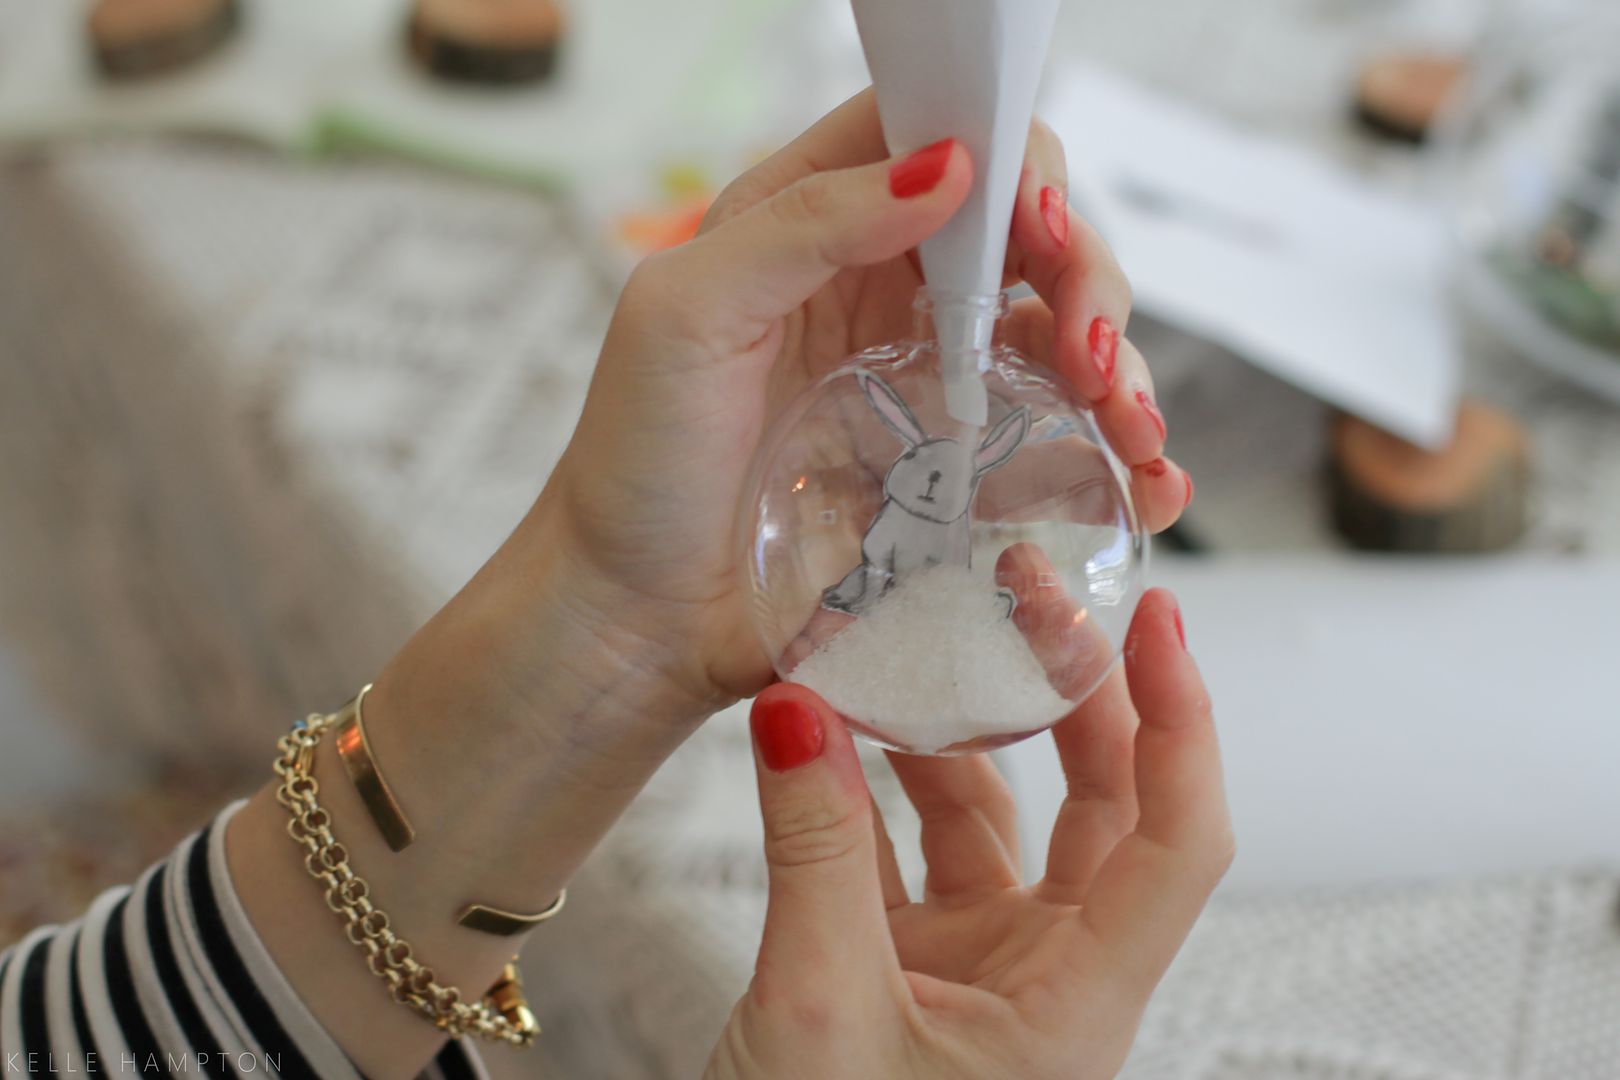
7. Create a paper funnel and pour white sand mixed with a little fine glitter into ornament. Stop when snow level is to your liking (I like the art critter to look like he’s sitting in the snow).
8. Using tweezers, drop in one tiny pinecone (you might need to give it a little push).
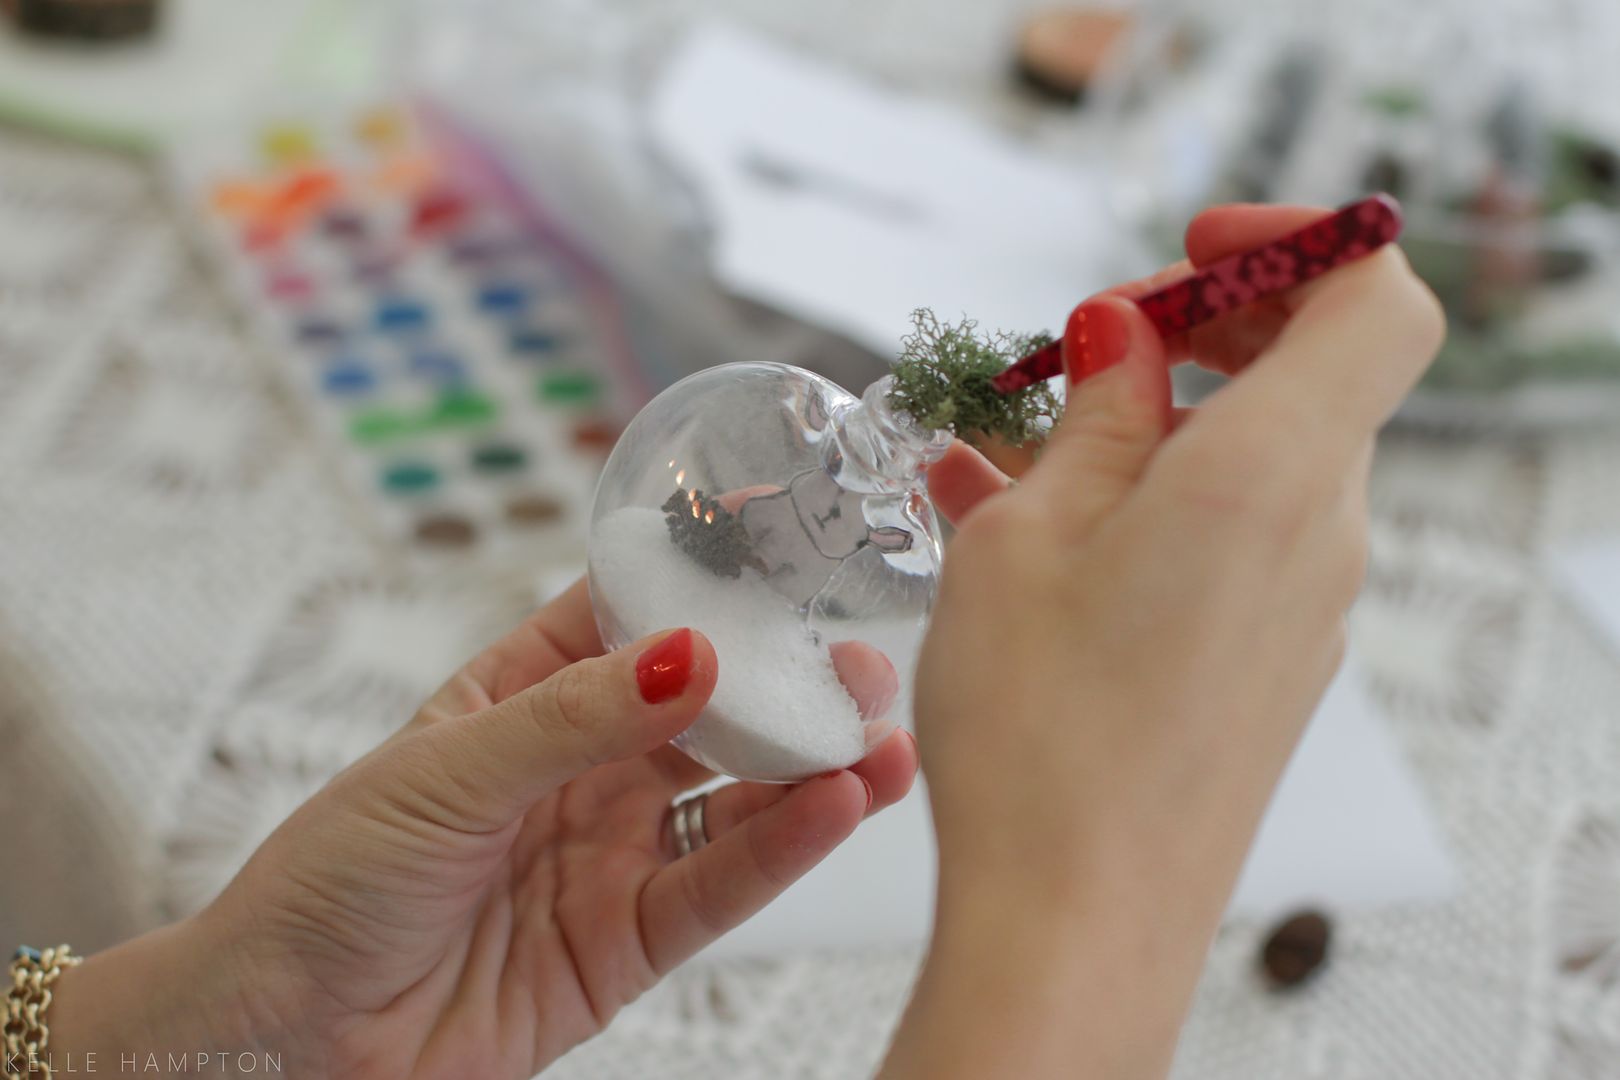
9. Add a tiny scrap of moss.
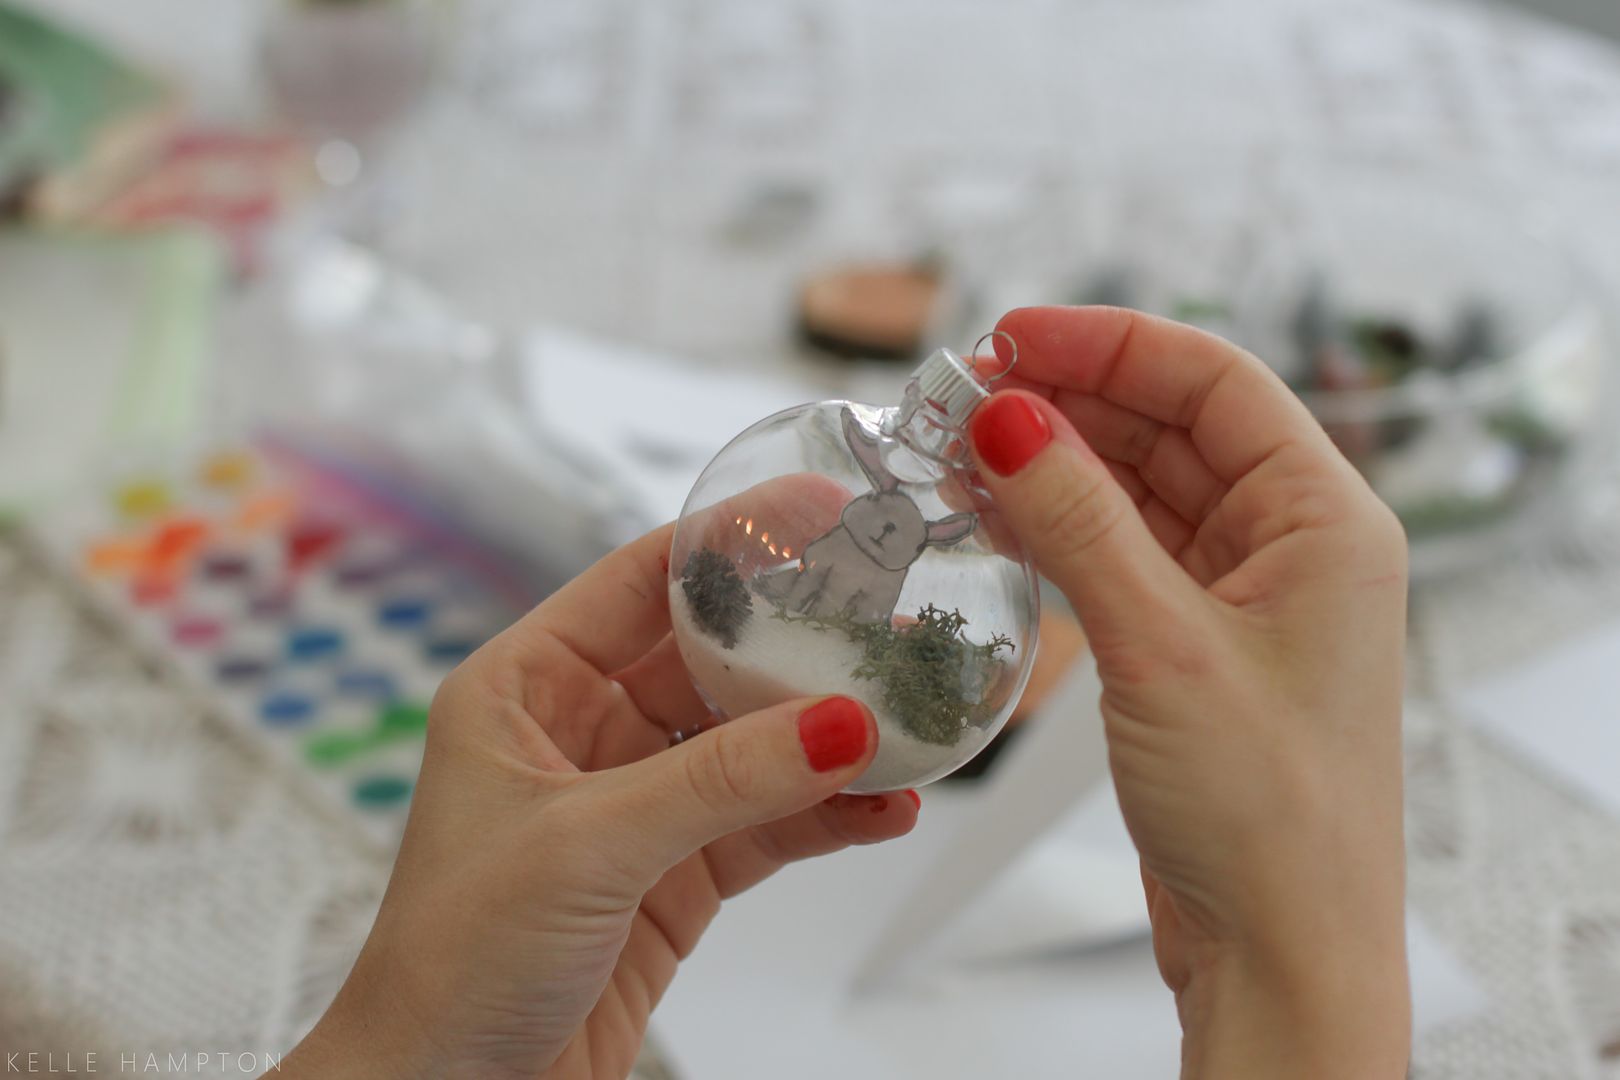
10. Reattach ornament fixture. Our ornaments are very secure–light enough where the ornament does not pull away from the fixture. You may want to hot glue yours if it feels like it’s pulling.

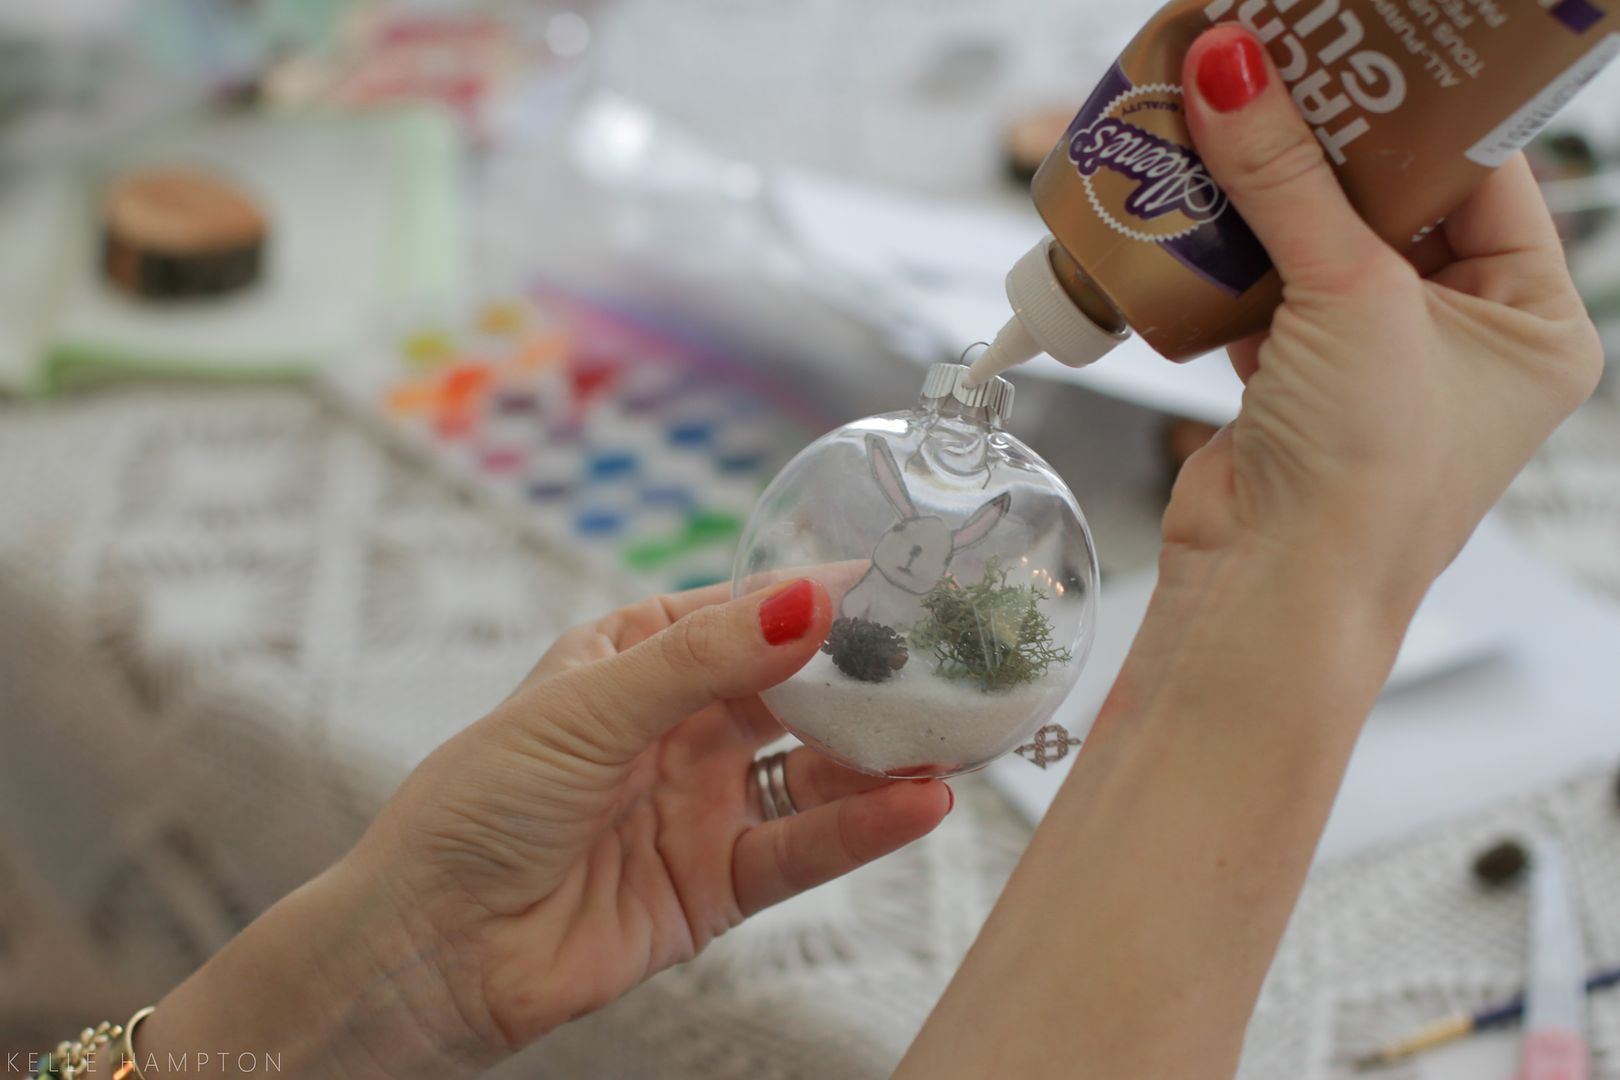
11. To add a little more, squeeze a little glue along the edge of ornament fixture…
12. …and cover with a strip of your favorite fabric.
Voila. Hello cute little critter on your tree. Merry Christmas. Now make ten more and give them away. You will get smiles…promise.
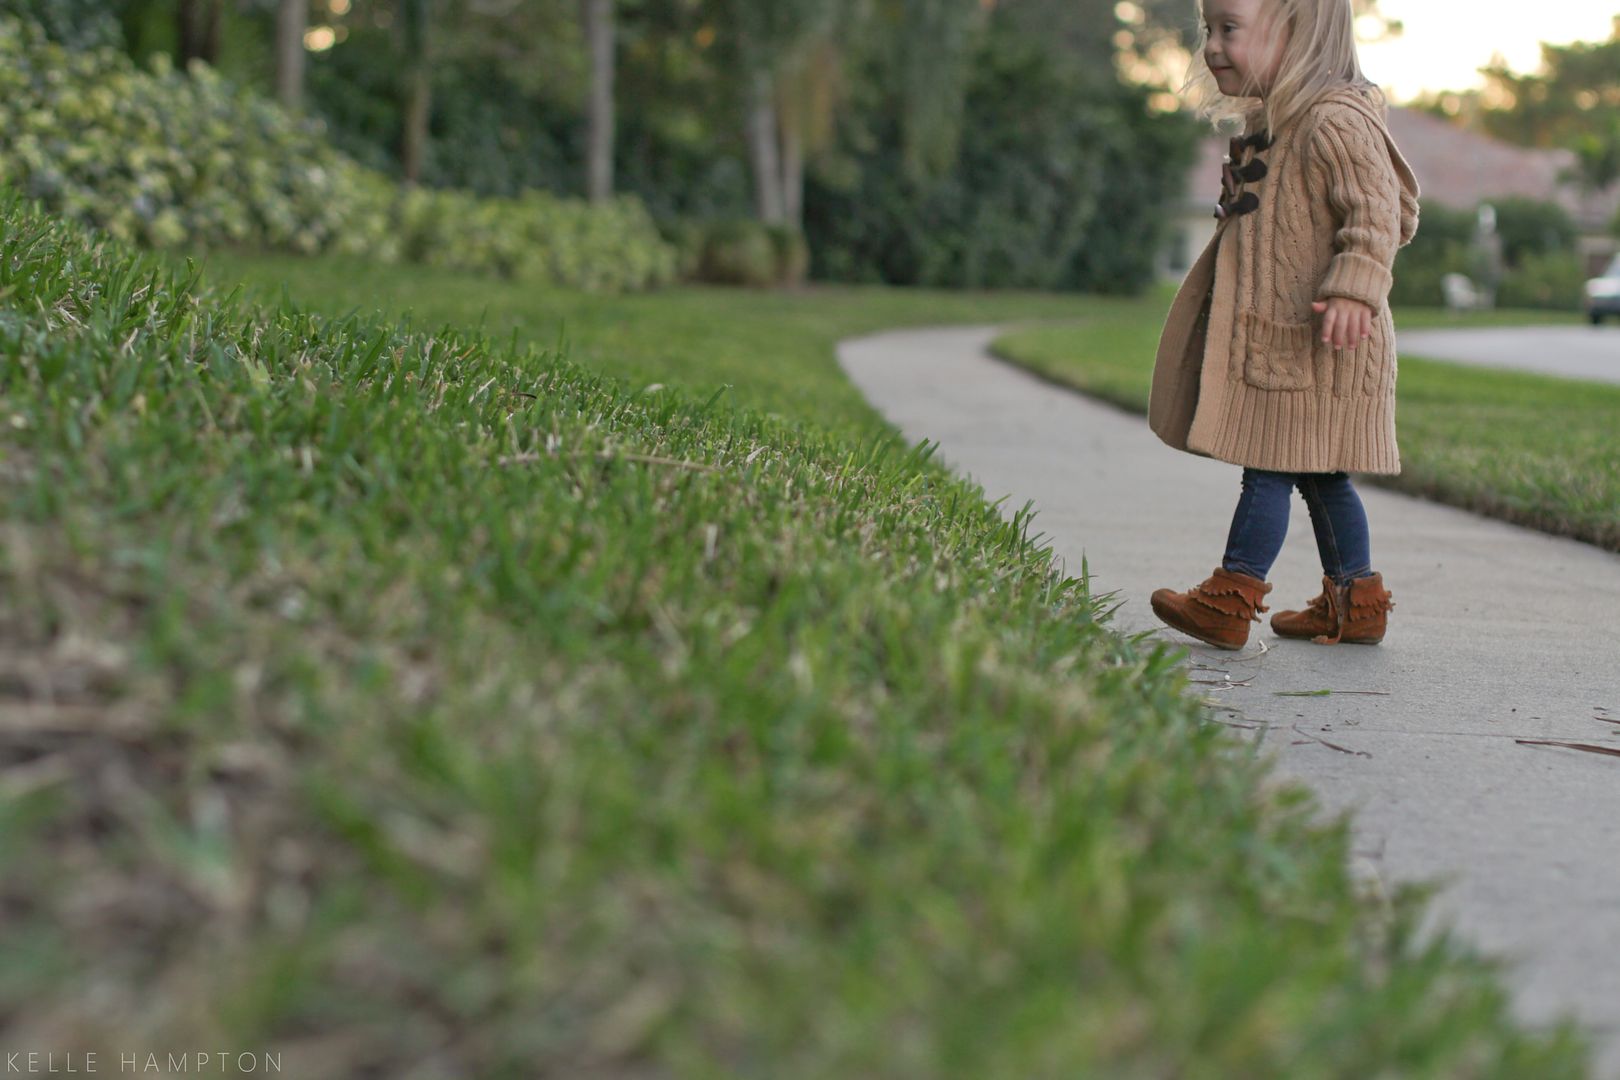
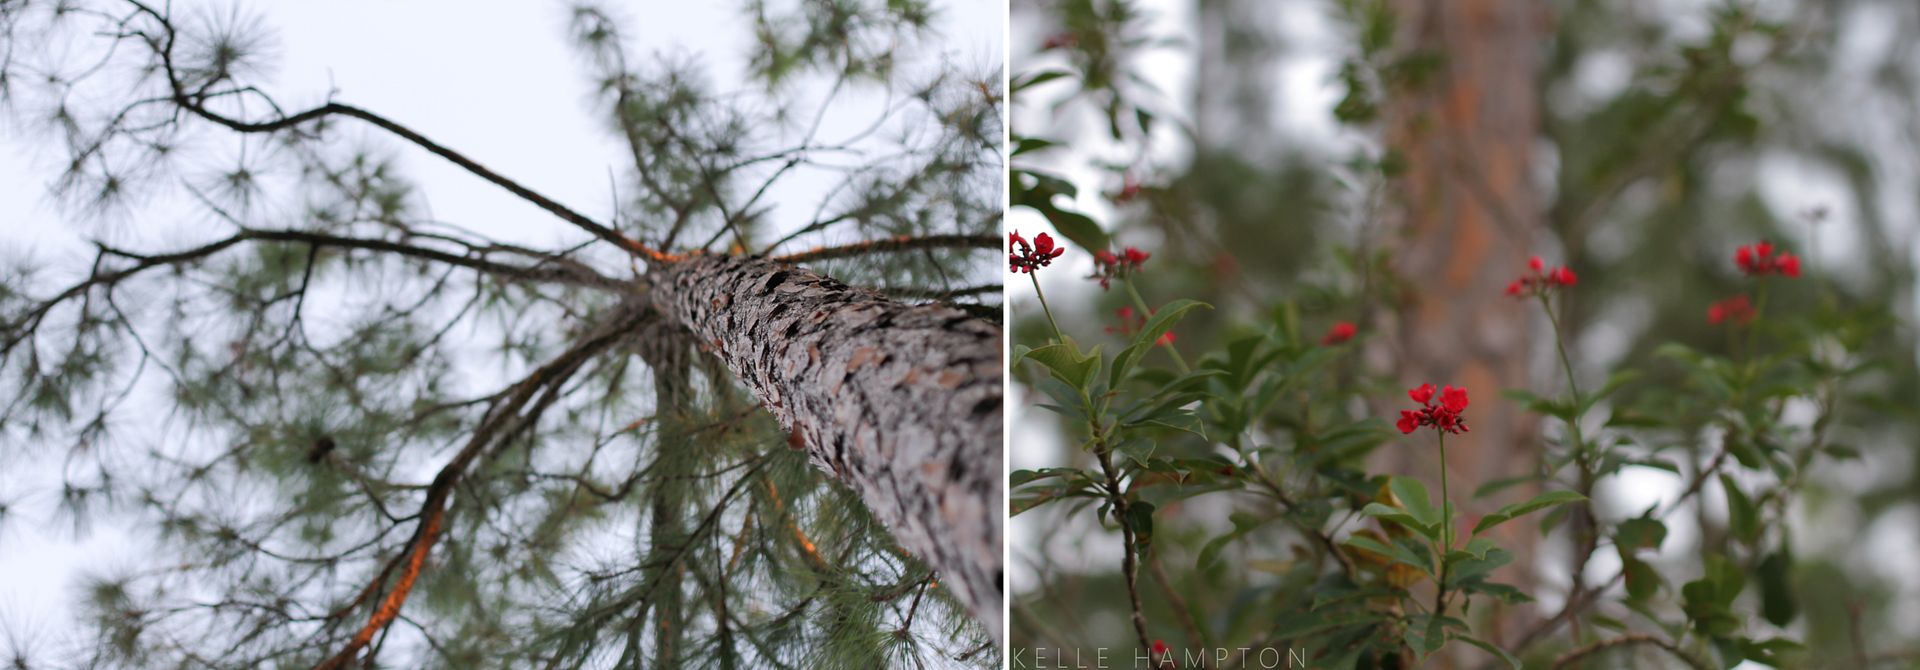
If you seek, you shall find. Because, look…in Florida. It’s beginning to look a lot like…
This time of year, this blog space becomes invaluable to me. I’ll sprinkle it with glitter. Take some if you like.
I hope your weekend was kind to you.
*****
A few of our sponsors are offering great Cyber Monday deals. The Shine Project employs at-risk-youth, helping them make their way through college. I love what they do. If you want to support them today, check out the new sweatshirts they launched last night. Buy two, get one free, using code Holiday33.
*****
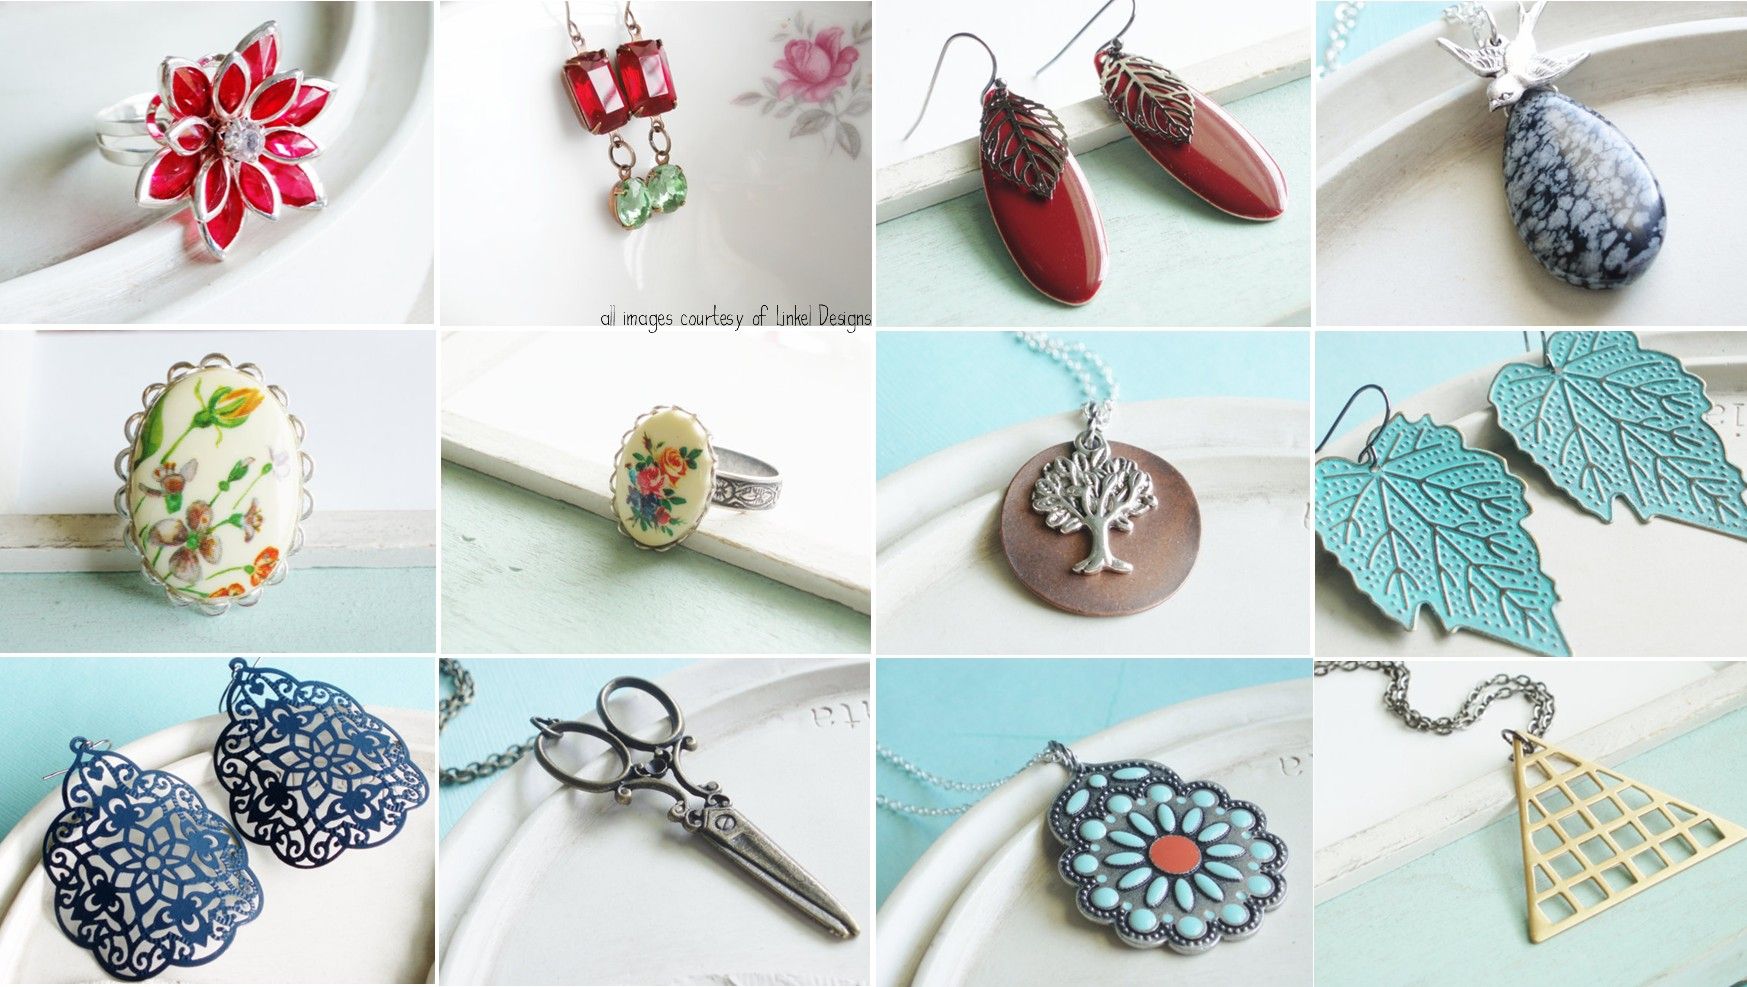
And Mother/Daughter team Kelly and Linda of Linkel Designs is returning to Enjoying the Small Things as a sponsor, expanding their incredible collection of beautiful handmade jewelry to include new holiday picks and special Cyber Monday deals (like 45 shop items for only $5 and $10!).
Top Row, L to R: Poinsettia Ring, Vintage Holly & Ivy earrings, Merlot Leaf Earrings, Fly With Me Obsidian and Silver Necklace
Middle Row, L to R: Vintage Wildflower Cameo Ring, Silver Cameo Ring, Willow Tree Necklace, Brass Leaf Earrings
Bottom Row, L to R: Navy Byzantine Earrings, Brass Scissors Necklace, Silver Go West Necklace, Triangle Geometric Necklace
As always, Linkel Designs offers a wide range of jewelry selections, from unique statement pieces to sweet vintage-inspired designs. Shop for friends, teachers, mamas, or find something special for yourself.
Enjoy free shipping through December 3 with the code SHIP4FREE.
*****
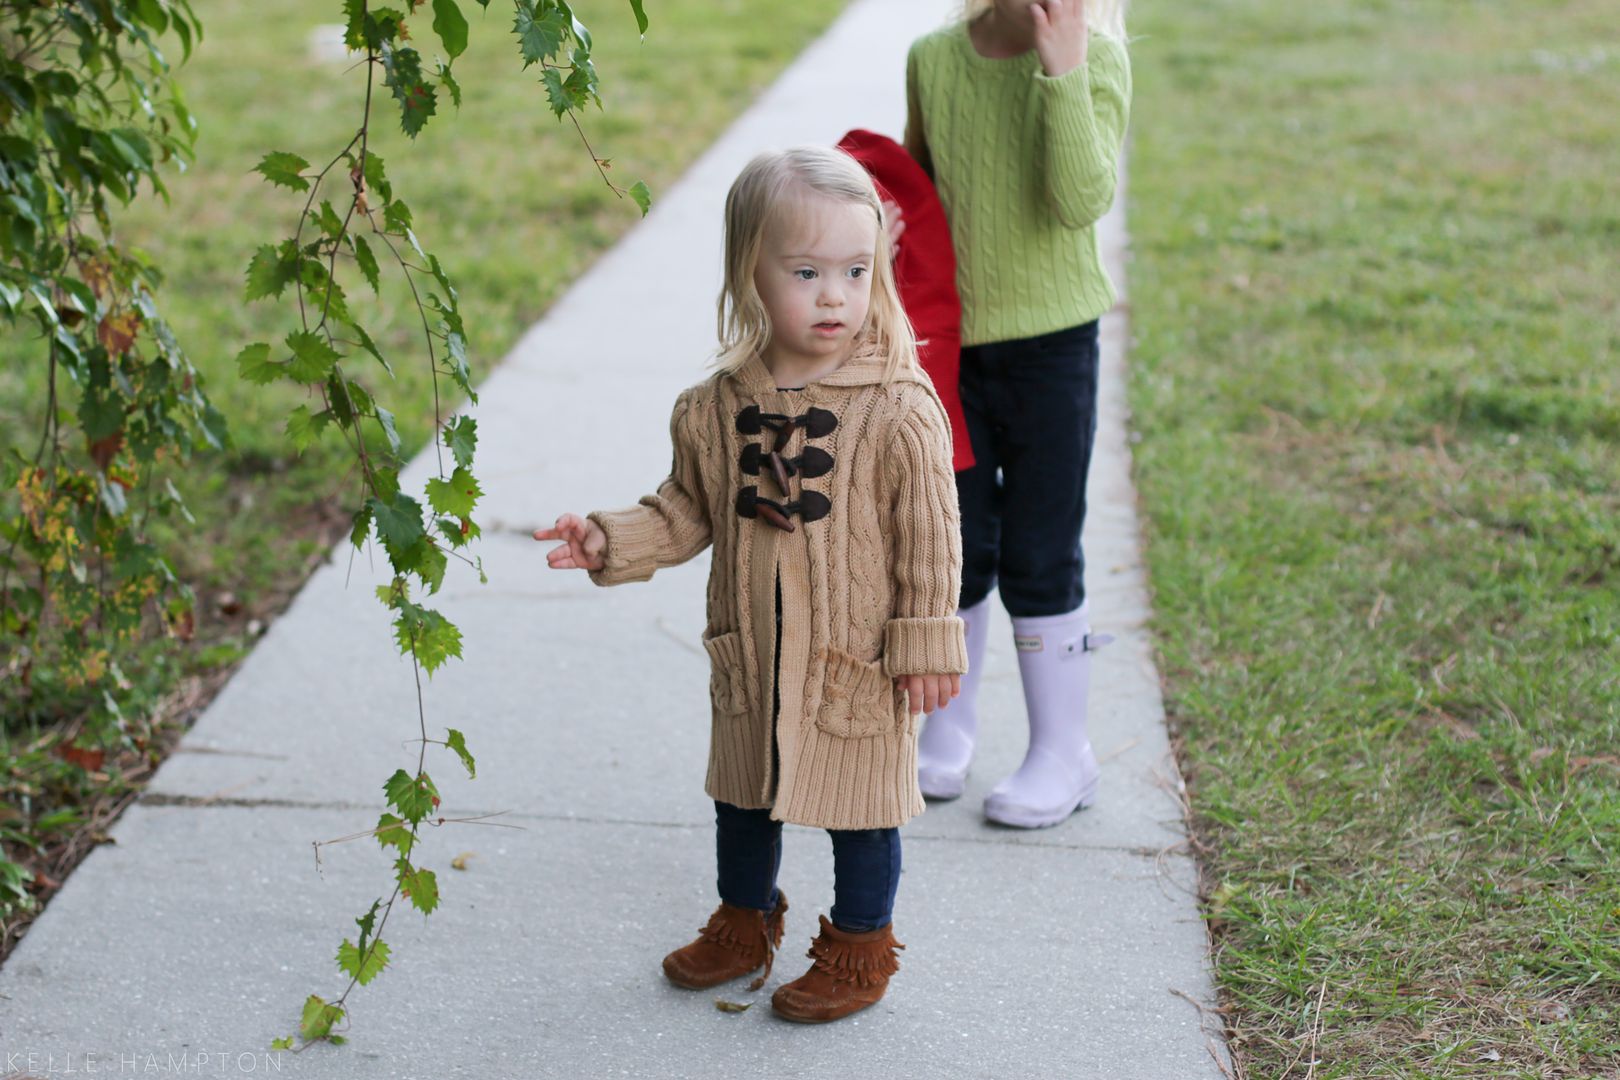
…and dance by the light of the moon.